
I have done quite a few quilting tutorials now, so this page will give you the list and links to the basics. I’ll update it when new ones are posted.
Quilt Borders and Understanding the Why of doing it the right way. Believe me your longarm quilter will appreciate you getting the ruffles out, LOL!! You’ll learn why measuring is so important with lots of pictures to show you the reasons and the steps. One will be done correctly, and one incorrectly so you can see the difference.

Choosing Colors and Fabrics – a method that works for quilts, but is applicable to any color challenge such as papers for stamping, or paint colors and clothing!

Why Longarmers Need Extra Backing Fabric, and the problems we see without it.
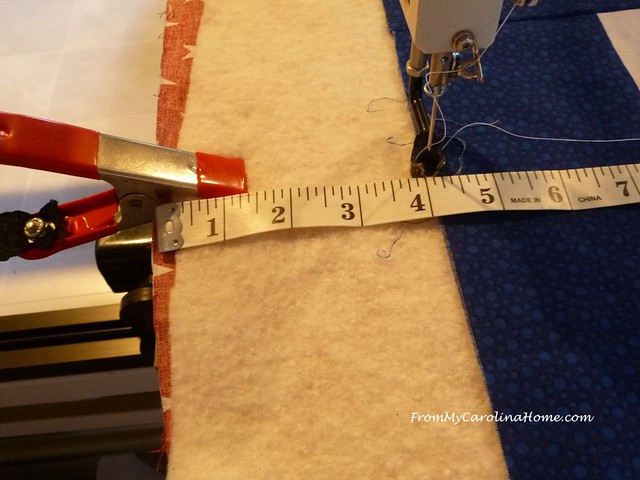
Another Lesson on Measuring Borders – How to get an accurate measurement with what not to do.
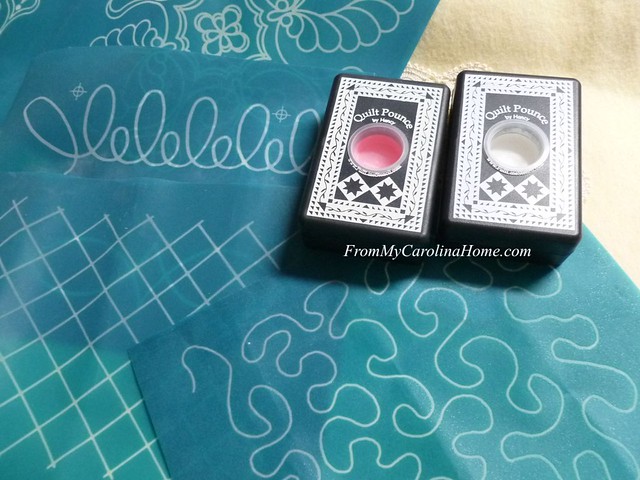
Let’s Talk About Marking Quilts
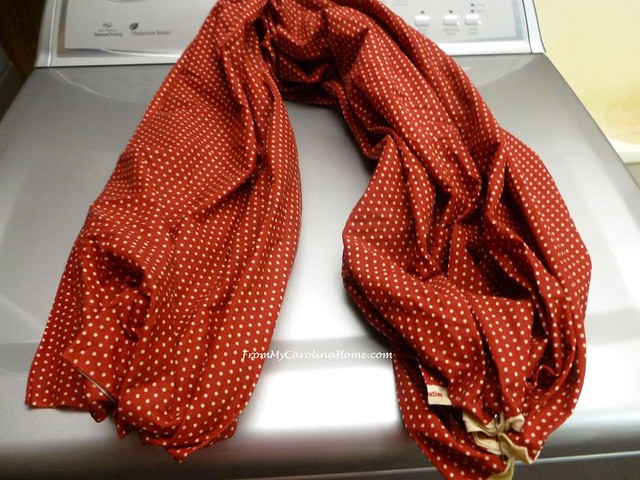
A Brilliant Tip for Washing Fabric Yardage
Mitering Printed Borders – getting that perfect miter with those pesky prints.

How To Chain Piece Half Square Triangles

Using Moda Cake Mix Papers
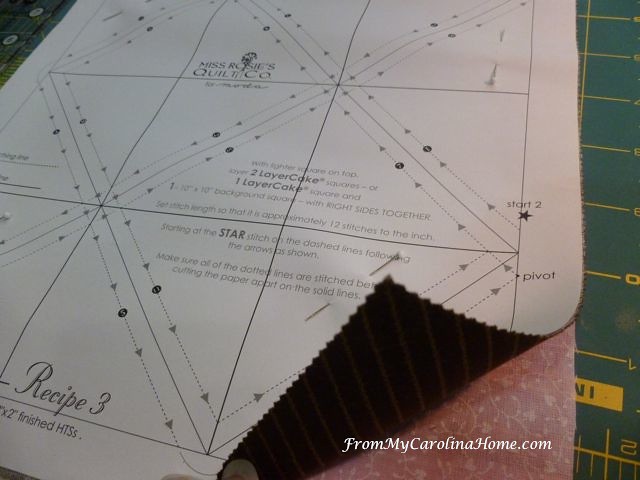
Making HSTs From Jelly Roll Strips
Loading the Longarm – why we need certain things like extra fabric, and what happens when it isn’t there.
How to Add a Hanging Sleeve to a Finished Quilt
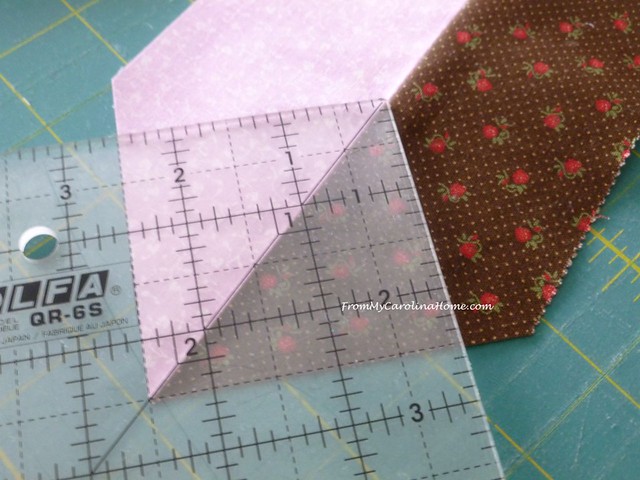
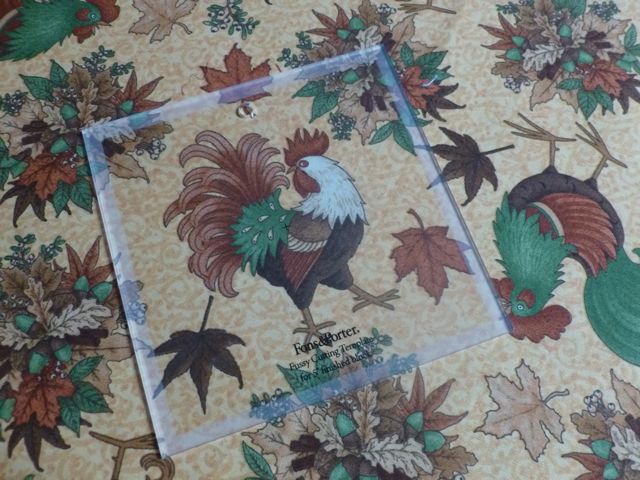
How to use Fussy Cut Templates – getting your fussy cuts to be just right!
Binding Color Experiment – what happens with different colors of binding on the same design.

Thread Color Experiment – quilting the same quilt with three different thread colors to see the difference thread can make.

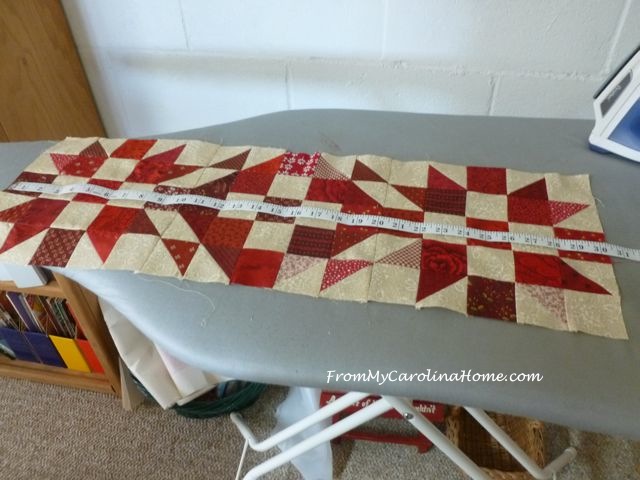
How to Square up a Block – using a square up ruler to ensure your blocks are straight and square

Four Part Series on Binding a Quilt –
Quilt Binding Part One – Making Bias Binding – takes you through the steps of making the binding

Quilt Binding Part Two – Attaching to the Quilt, with a tip on getting the perfect corner placement

Quilt Binding Part Three – Joining the Binding Ends, how to join the ends so the jointing point isn’t apparent. No tuck and turn here!!

Quilt Binding Part Four – Turning the edge to the back to hand finish, completes the process and results in perfect mitered corners on both sides.

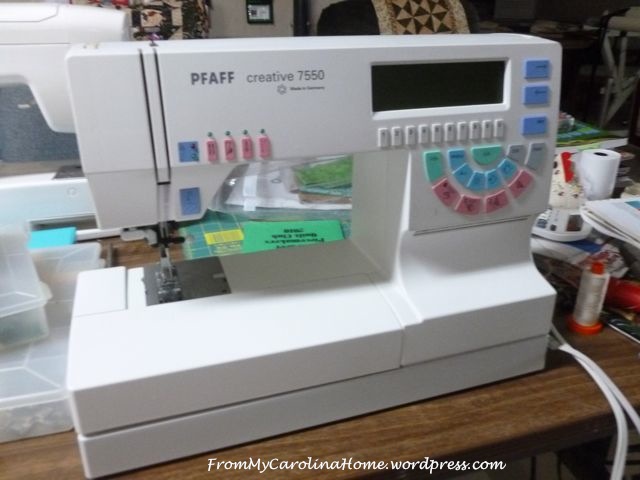
How To Clean and Care For Your Older Sewing Machine – what to do and how to oil and clean an older machine.

Pfixing the Pfaff
Plus, I have done a series of articles for Madam Sew. Check out these tutorials – Quilting with a Walking Foot
How to Stipple Quilt
Crazy Quilt Christmas Stocking with Decorative Stitches
How to Sew a Professional Blind Hem by Machine
Rotary Cutter Basics
Paper Piecing Basics
Beginning Quilting – Basic Tools and a Simple Block
Beginning Quilting – Making Half Square Triangles
Beginning Quilting – Flying Geese
Beginning Quilting – Choosing Colors and Prints
Beginning Quilting – Choosing the Right Batting
Beginning Quilting – Adding Borders to a Quilt Top
Beginning Quilting – Finishing the Quilt with Binding
Beginning Quilting – Choosing Threads
Beginning Quilting – Variable Star Block
Beginning Quilting – Making and Using Sashing
Making and Using Piping
Using Fussy Cut Templates
Two Block Christmas Table Topper
Quilted Travel Set Series – Curling Iron Case
Quilted Travel Set Series – Cosmetic Case
Quilted Travel Set Series – Jewelry Roll
Quilted Travel Set Series – Lingerie Case / Book Cover
Quilted Travel Set Series – Shoe Case

Great tutorial and excellent photos to show the correct way to do this! Thanks for sharing.
Freemotion by the River Linky Party Tuesday
Thank you, Connie!
Great tutorial, and the pictures were very helpful… Thank you! Oh, in one spot, you mention measurements of 16 1/2 16 3/8 and 16 1/2… I think you mean 16 5/8 for the middle measurement…
Thank you, Ellie, you are so right! I fixed the numbers. LOL, you can even see it in the pictures! Thanks again.
This is wonderful information on the correct way to put on borders so that quilt is square and flat. When it comes to longarm quilting, you just can’t make a silk purse from a sow’s ear. You can make a purse, but it won’t be a beautiful silk purse.
Thanks, Nanc, that is so true!! I often say that with this kind of thing you can have flat or square but not both. But, with flat nicely applied borders you can have it all!
I’m a slap and sew quilter and my quilts are always wonky. Thanks for a great tutorial. I need to learn to add borders correctly. The long armers I work with are getting annoyed with me.
Thanks, Sarah! I know they will give you lots of kudos for a flat border. I know I would, LOL!
Thank you so much for this tutorial–I do the sew and measure as I never trusted the slap & sew method and you have reinforced that thinking.
Thanks, Marlene! I appreciate the comment.
Thanks Carole for a great tutorial. I do mine the measure and sew method. When I first started piecing, it was so easy to ‘slap & sew’…wondered why I had wavy borders – about the 3rd quilt I made, I did it right, and have many quilts under my belt since. I’m forwarding this tut to my friend, that just today asked me how I did my borders. lol
Thank you, Jean! I hope you and your friend enjoy the other tutorials on the blog too.
Great tutorial, Carole. You are sew right. A well made and sewn border can make all the difference. Thanks so much for sharing!
Great tips and photos showing why this is important!
Thanks so much for linking up to Needle and Thread Thursday!
🙂 Kelly @ My Quilt Infatuation
As a beginning quilter, I love getting tips from pros. This particular step in quilt making is an issue for me. Thank you for the wonderful tutorial and the many picture that were included in it.
I have saved it for future use.
Lisa
Excellent tute; thanks so much. Explains to me why my slap and slash method looks the way it does and your way of measuring and pinning is just like my mom taught me to do ruffles, no reason at all NOT to transfer that method to borders on quilts. Happy Spring.
Thank you, Lynda! Glad you found it useful!
THANK YOU!! I am truly grateful this is “archived” under our borders themes at Tuesday Archives. Now it is handy for future reference. Often I avoid borders or do the slap and sew method….this post was EXACTLY what I was hoping to find in today’s linky!!
You’re welcome, Valerie!
Thank you. This is what I try to teach students in my quilt classes. It sure keeps the quilt straight and flat. Your post is very good.
Thanks, Nancy!
Carole, there is a reason why you are getting so many hits. You’re tutorial is spot on, and very well-written. I will be linking to it in my Friday Finds on May 9th as my earlier ones are written already. I’m leaving on a road trip tomorrow so I had to “plan ahead”. Thanks for educating quilters on the best ways to do things.
Thank you so much Marsha!! I hope you will check out the other tutorials on squaring up blocks, putting on borders and more.
I didn’t realize that you had so many tutorials. A few definitely caught my eye so I pinned the entire post in my pinterest! Thanks for linking up to Anything Goes Mondays!
For larger quilts using Warm and Natural, can I seam it together to get the width I need ?
Sure, just place the edges of side by side and use a zigzag stitch to hold them together, if you don’t have the right size.