
It seems like all I have been sewing lately are hanging sleeves for quilt shows. I have a quilt in the FBC Memory Makers quilt show during the Apple Festival and the State Fair is right around the corner! Plus I am going to enter three quilts into the Asheville Guild show, and those have to have sleeves too. For my Falling Stars quilt, the sleeve will be a temporary one, as I’ll remove it later for using the quilt. The Farmer’s Market Picnic will also get a temporary sleeve. The wall hanging quilts will get permanent ones. I thought you’d like to see a couple of tips on doing hanging sleeves, both temporary and permanent. One thing to know, this is mostly hand work, labor intensive, but not difficult. I can whip stitch one of these on a large quilt in an evening. For temporary sleeves, the stitches don’t have to be perfect. They can be fairly far apart, just don’t go through the quilt to the front with your stitching, catch only the sleeve and into the batting layer.
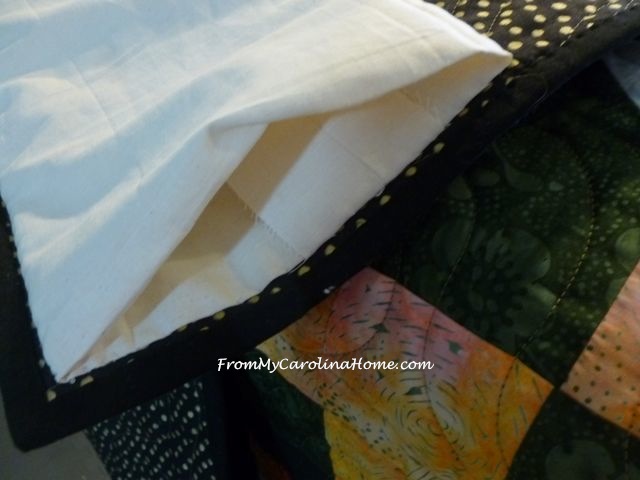
Tip 1 -I have a sleeve I have used over and over. The judges do not consider sleeves as part of the judging (at least around here at the fair they don’t). At the fair, if your quilt doesn’t already have one, the committee will add one for you with safety pins that is only a single layer on the outside, with the rod touching the quilt. The sleeve I use was made some years ago. It gets put on and removed over and over. I don’t make it the exact size each time, I simply fold the excess back over itself with the excess on the outside. This way it can be whatever size I need each time, and inserting the rod doesn’t catch the loose edge.
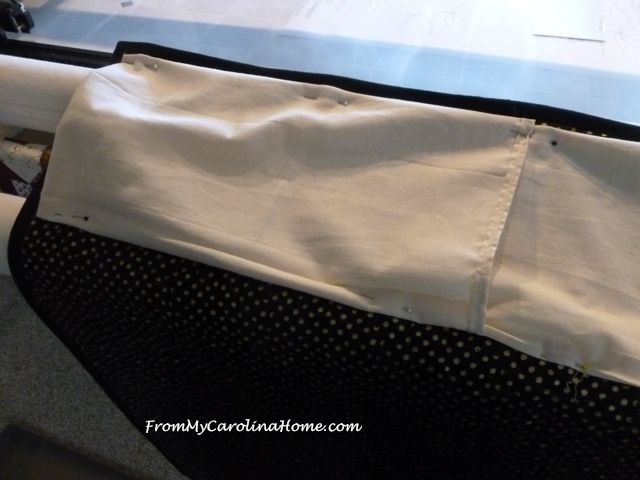
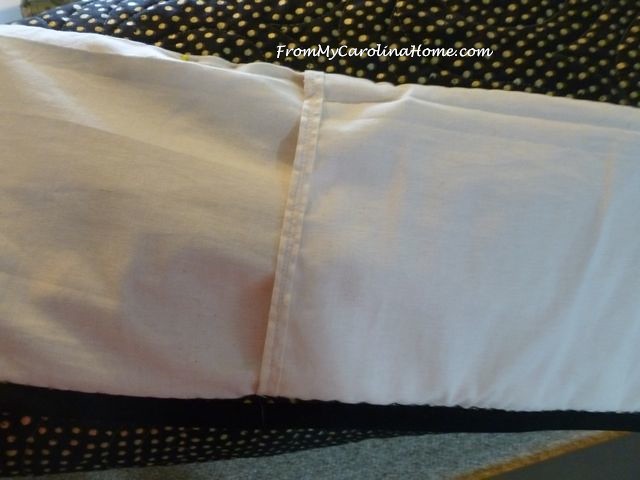
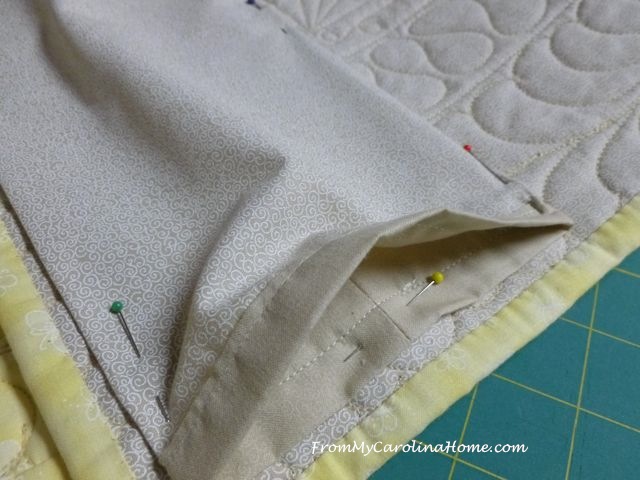
Tip 2 – press the sleeve before you add it to the quilt, with the seam running down the middle of the side you will have against the quilt. You will then have a line to push up about 1/4-1/2 inch when stitching the bottom of the sleeve to the quilt. This will give some room for the rod, so your quilt hangs straight.
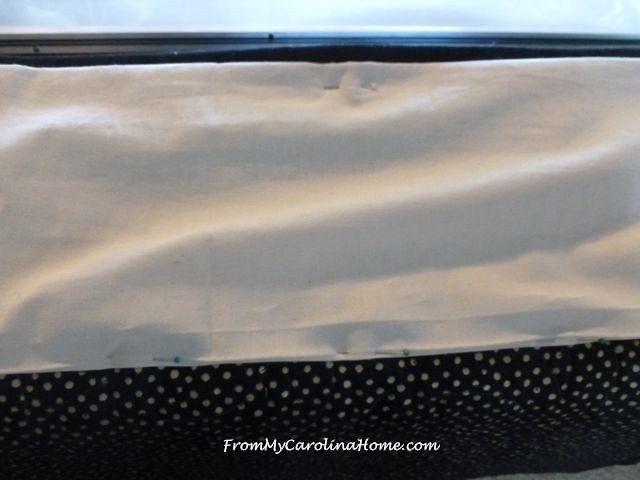
Tip 3 – Pin the edge against the quilt where the rod is inserted, and sew it down.
This will keep the rod inside the sleeve and protect your quilt back from damage.

All done, just remove any leftover pins and you are ready to deliver it to the show.
Tip 4 – For a permanent sleeve, you’ll want to be a bit more precise. Measure your sleeve length by measuring the total width of the quilt including the binding. Don’t worry, it won’t reach the edge when we are done. Cut a piece of fabric the length you need by the finished width you need x2 plus one inch. For example, my quilt is 31 inches wide and my sleeve needs to be 4-1/2 inches finished. So I cut a piece of fabric 31 inches x 10 inches. Place WRONG sides together, and sew a seam the length of the strip with a 1/2 inch seam allowance.
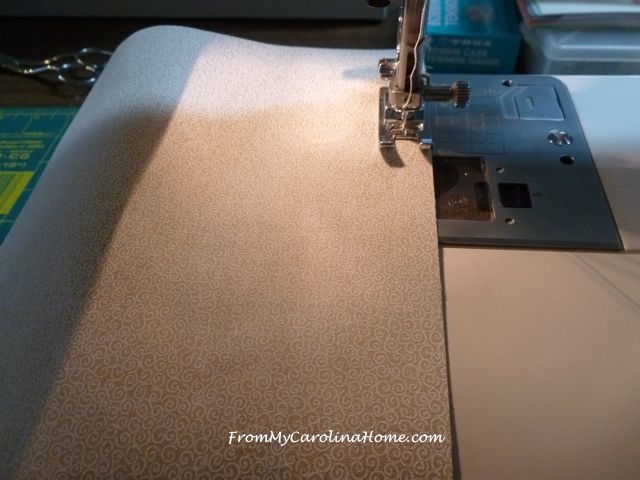
Press the seam open on the outside, placing it down the middle of the sleeve.

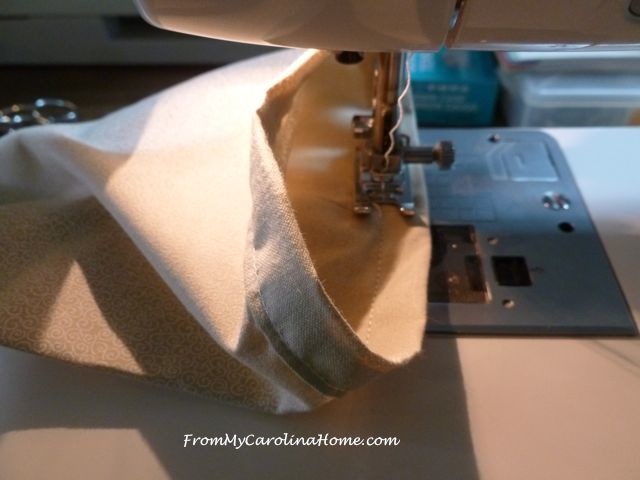
Turn the edges twice to the outside, covering the raw edge of the seam.

Stitch the hem through all the layers.
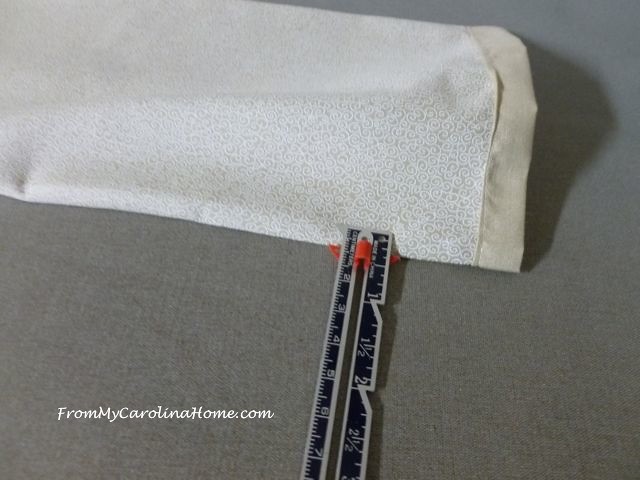
Press, then push up the bottom edge 1/4 inch from the pressed line and press again. This gives the little bit of play that you need for hanging nicely.
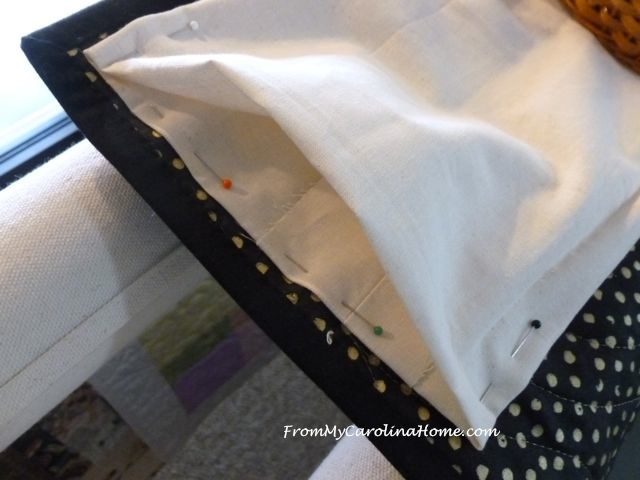
Pin onto the quilt with the exposed seam against the quilt. The sleeve should end before the binding edge so it won’t be seen when the quilt is hung. Sew into place by hand with a whip stitch, taking care to sew down the edge against the quilt. The sleeve now appears completely finished with no raw edges showing. I’ll finish the hand stitching while watching some football. Yes, I am a football junkie!!
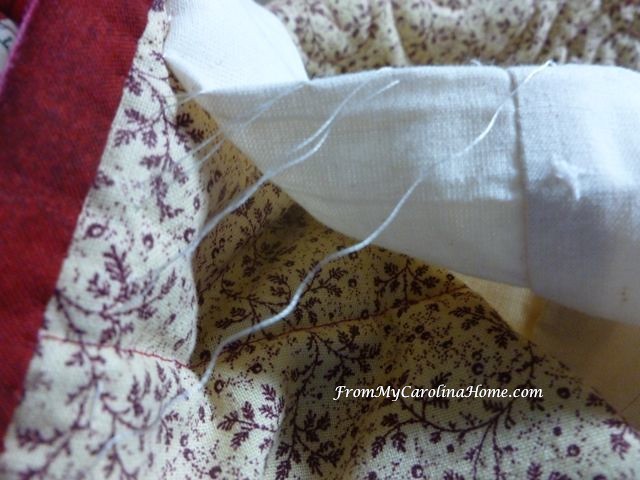
When the show is over, clip a thread and begin pulling the sleeve away from the quilt. The hand stitches will easily release, giving you long threads you can clip near the quilt back and pull out.
Tip 5 – if you know you are going to add a permanent sleeve to your quilt, put the top of the sleeve on the quilt with your sewing machine close to the edge before adding the binding. The binding will hide that seam line and it will save you quite a bit of hand work.
Are you showing your quilts anywhere this year? Do you use temporary or permanent sleeves on your quilts?
My blog is about a variety of topics, quilting and sewing, crafting and cooking, reading and travel, mountain living and gardening, and more. You can follow my blog in several ways, see the sidebar for email sign up or blog-reader links. I have lots of free patterns for quilters, mystery quilt alongs, holiday quilt alongs, and seasonal events with giveaways. Please follow me for all the fun! New projects coming up!!

Thanks for all the info on “sleeves”. I do mine very similar to your method with one exception. On permanent sleeves instead of pinning the sleeve into place, I dab a few dots of washable glue (Roxanne’s) along the edge. I find with gluing the sleeve down it doesn’t shift while stitching as mine used to do with pinning.
By the way, I’ve tried many of your recipes – love the turkey breasts. How about your recipe for apple pie – mine never seem to taste just right so I’m still looking for the perfect recipe.
Terry
Apple Festival coming up, will see what I can do!
Tweeted at: https://twitter.com/ShopJoya
I’ve just completed a sleeve to go on a piece I’m submitting to the Topsfield Fair this year. I love the idea of your reusable sleeve! Until this project, all my sleeves had been permanent – but I may make a longer one I could reuse.
Thanks for the tips on your sleeves 🙂
This is a genius idea and one I needed this very week!
Thanks for some wonderful tips. I’ve never made a sleeve before and had just started to research them. I need look no further!!
Thanks for the tip!!! I needed this 🙂
Great idea about the temporary sleeve! I don’t show my quilts, mostly because most of them don’t live with me. I have had to put a few on over the years, though. This was a good tutorial on how to do that.