
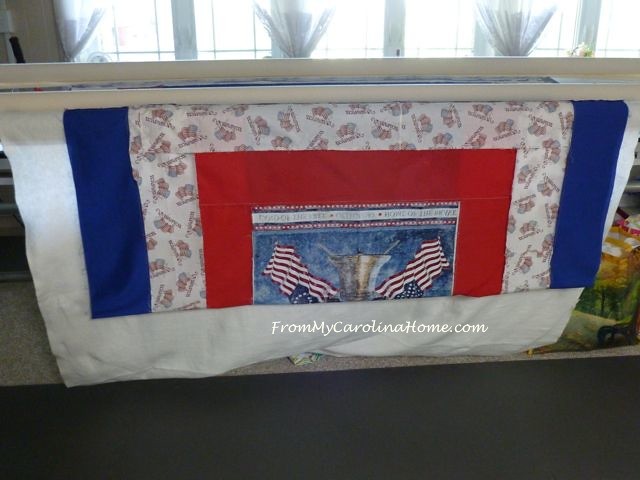
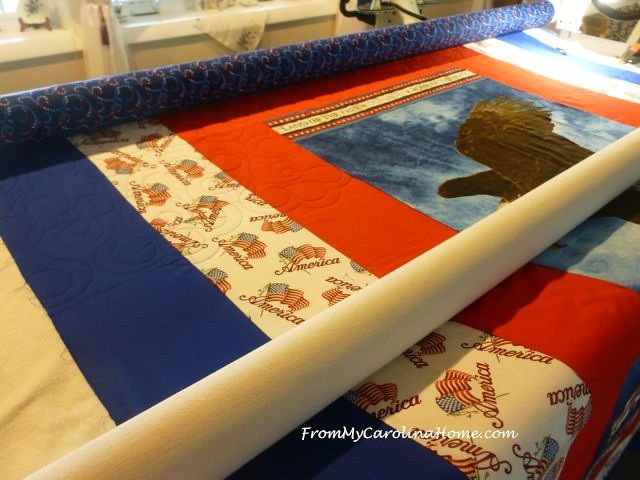
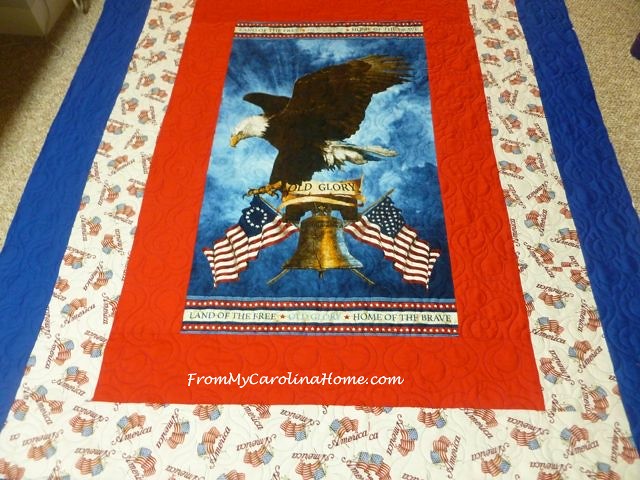
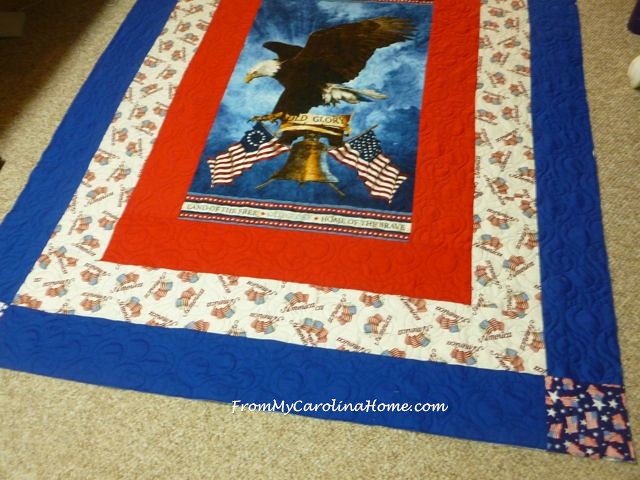
Continuing on with the Quilts of Valor for the Grand Strand Quilters, the next one is a panel with an eagle in the center surrounded with borders. The backing provided was a dark blue.
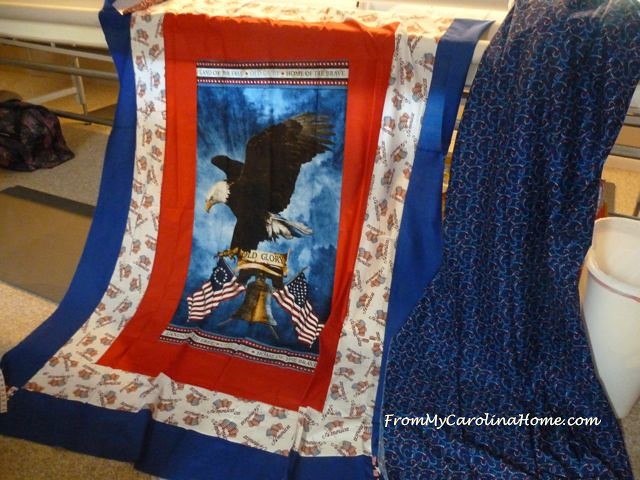
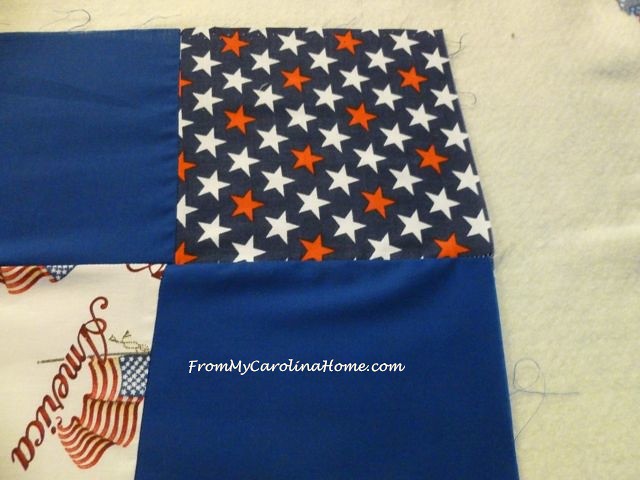
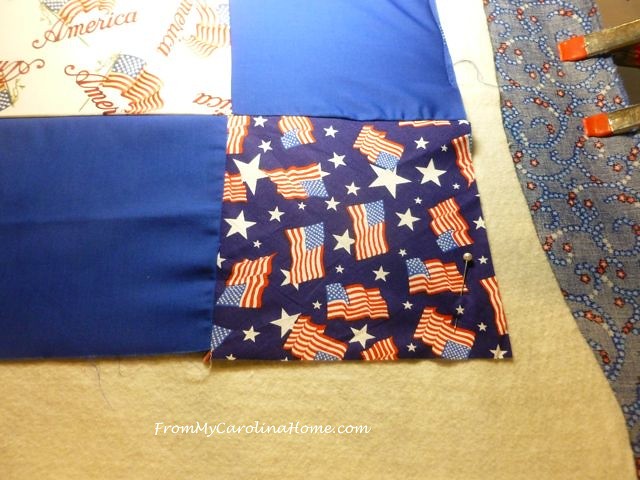
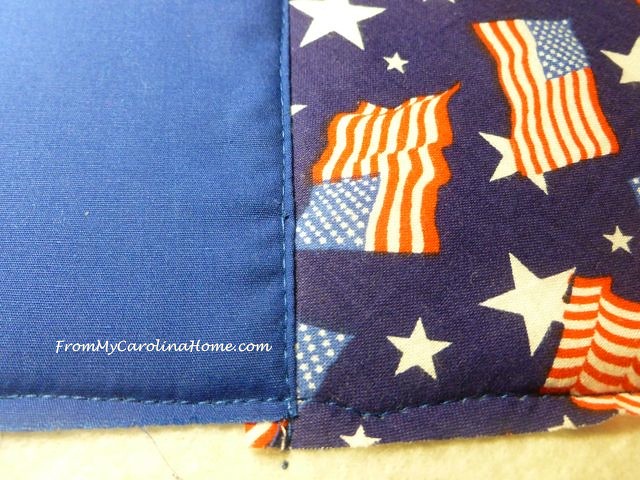
Once again, the borders are a bit full, and I suspect that they were not measured. The cornerstone blocks are not straight.
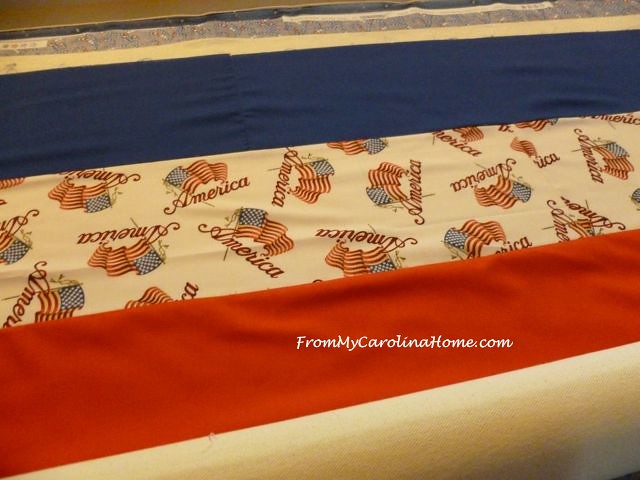
There is fullness in the middle too.
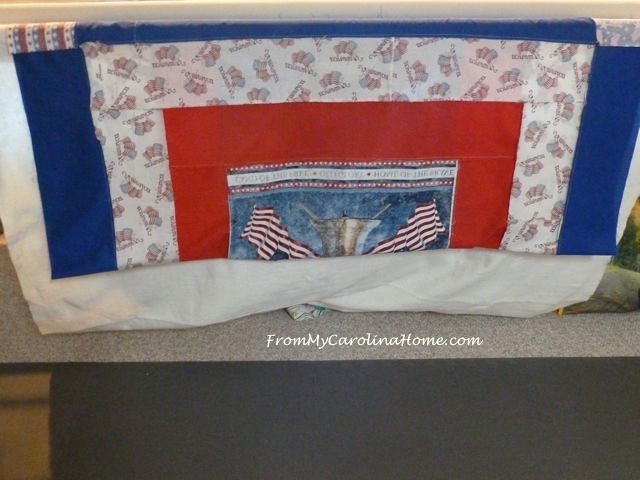
Folding it up from the bottom, you can see how the middle of the quilt is smaller than the edges, indicating too much fabric in the borders.
I removed it from the frame and steam pressed the entire quilt with the 50/50 solution I make of Best Press and water. I do use a spritz bottle, never put this solution in the iron itself. After some pulling and pressing, I was able to get the quilt a bit more squared up, with only a couple of problem areas left.
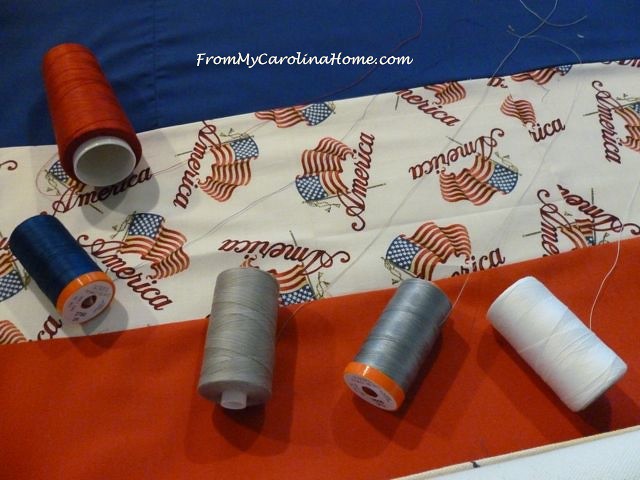
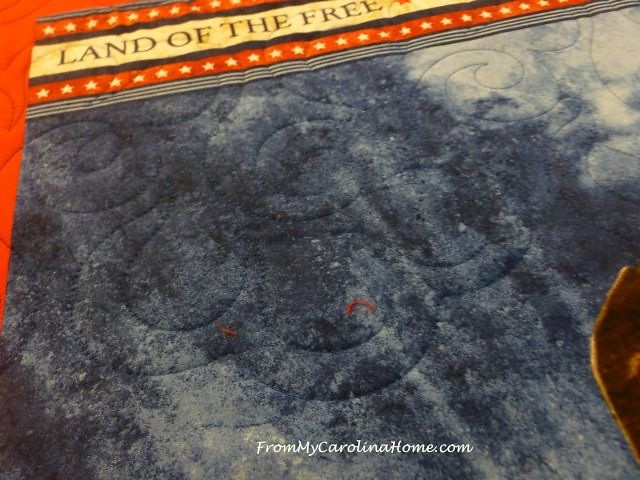
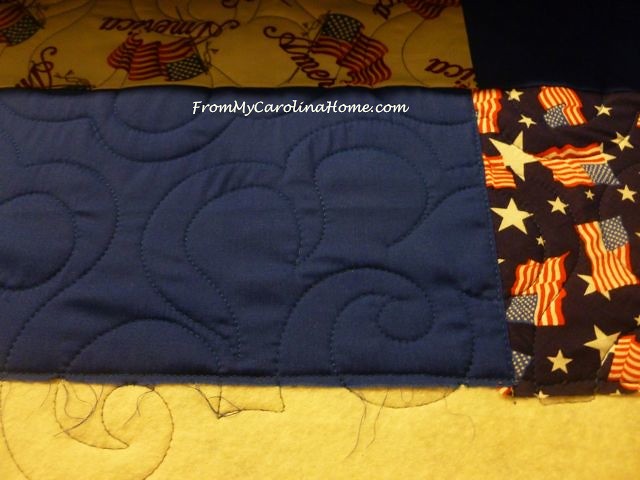
Next is auditioning thread. The important consideration with thread this time was not only the color of the backing, but the thickness of the thread. In order to minimize the impact of the quilting on the eagle, I needed a thin thread that would not obscure the eagle’s face. The blue Aurifil thread was perfect, and matched the backing. Yes, I often quilt with Aurifil, both the top thread and the bobbin.
I decided on the gentle swirl of this pantograph, as it was suggestive of clouds like on the panel. Here is one of the many puckers that appeared on the side.
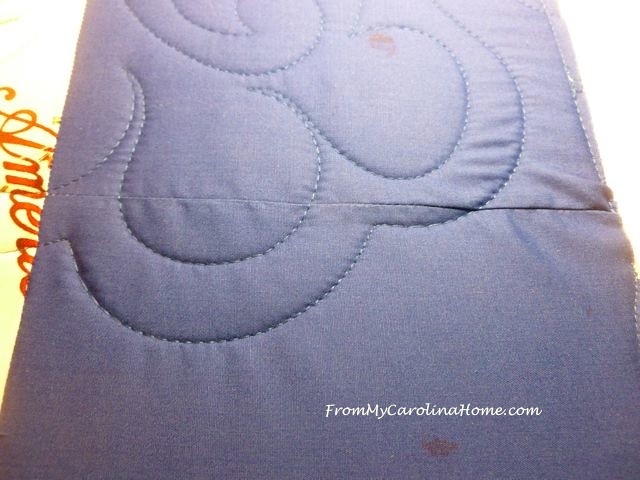
You can see some puckering of the fabric due to the excess of border fabric at the bottom of this picture. I really didn’t like this, but I didn’t want to rip it out.
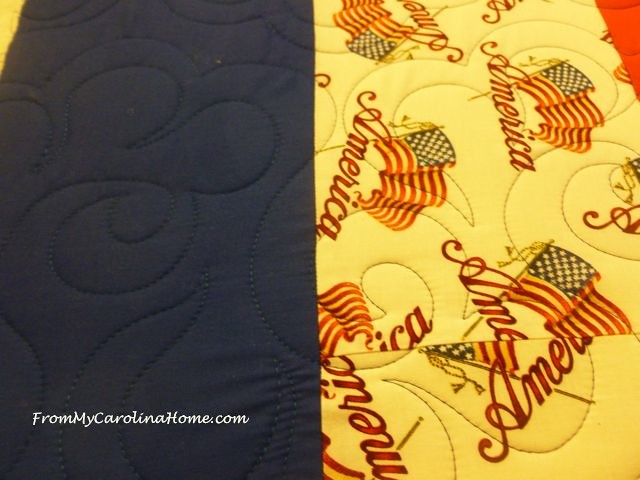
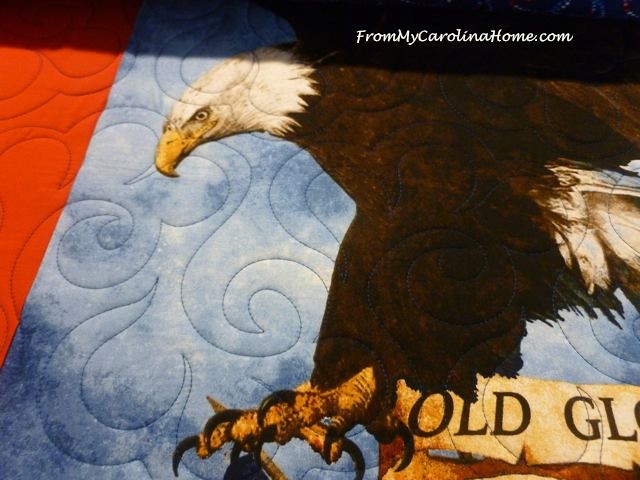
I think the quilting looks good on the background sky of the panel.
Some of the excess fabric on the border edges created fullness in the middle as I tried to keep the border seam lines straight.
Once again, as I got to the bottom, the fullness and wonky corner became apparent.
It seemed to be worse on the bottom blue border, as this much fullness was too much to work in.
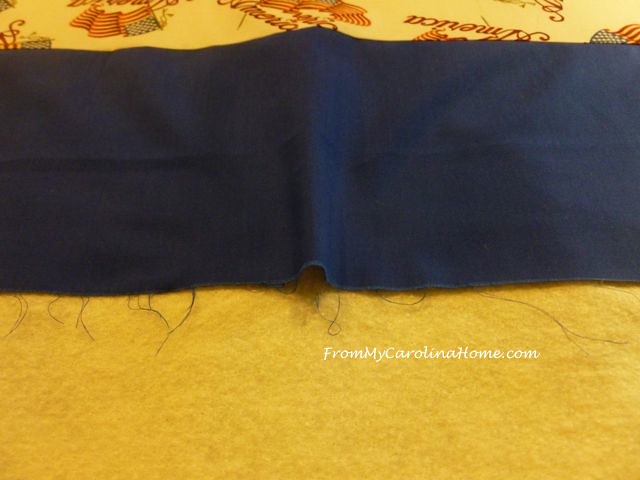
So, I made a pleat with the excess and stitched it down. I ended up doing four of these, one on each side and two on the bottom.
Even so, there is still puckering in the bottom border.
I know I harp on this a lot, but you can see what your longarmer has to go through when the borders are put on with the slap and sew method. I just wish I could get this message out to everyone. If you haven’t seen my tutorial on properly applied borders, click HERE to understand the difference between measuring and not measuring.
Puckers at the top of the picture too. Yes, these will be minimized with washing, but I don’t think these quilts are laundered prior to presentation.

All done, I am not happy with the sides, but I did the best I could.
I was pleased with the Aurifil thread for quilting, as it is thin and doesn’t detract from the eagle.
Ready for binding, it was sent back to Myrtle Beach.
What are you working on today?
Sharing

You did a good job squaring it up and quilting it. I don’t think anyone will notice. It will be greatly appreciated.
Another gorgeous quilt. SO bright and colorful. I am (slowly) working on a few projects. Been resting lately.
Nice job. I am going to share a link to this blog post with my “newbies” in a bee I started last year. I appreciate reading about how you solve these challenges as a long arm quilter. My guild is having a quilt show in July, and last February, several L/A members had a panel discussion about borders and prepping your quilt for the person doing the long arming. 🙂 Thanks.
I love that you talk about the challenges some quilts present and share your methods of dealing with those. I’m always interested in your treatment of the full borders – I have to deal with that issue weekly. You did a good job on this quilt, and I doubt anyone will notice a tiny pucker here and there and definitely not after the quilt is washed. You’re providing a great service Carole!
Great job pressing/quilting it out. I’ll have to try Aurifil on my LA. I have a client who only wants 100% cotton on her quilts and struggle to make other cotton threads work.
Good morning,
The eagle quilt is gorgeous despite all the problems, wish I had that panel. Back in the 90’s I made a light blue denim long coat and put an eagle on the back with a Harley Davidsons scarf, used a fusing on the scarf and decorated it with a little gold, not much and on the sides of it I glued red, clear, and blue stones with streamers of the stones colors. Down the front I had America in red letters with gold glitter paint.
I still have the coat. Think I still might have some of the scarfs so I plan to make a small wall hanging and hang it next to my Jays flag and his picture in his uniform in my work room.
I have always washed my material whenever I make anything, mama taught me to always preshrink so things would fit properly, sometimes people just get to anxious and want to get things made so they can use it so they forget to preshrink . Everybody, including myself learns things the hard way don’t we? It pays to have the patience to do things properly.
Have a terrific day,
Phyllis
A wonderful job on a beautiful QoV quilt. Yes, many challenges when borders are not measured and cut correctly, but you did a great job in dealing with these. Our area’s QoV leader always washes quilts before presenting, so any problems left after quilting would be dealt with accordingly since some people prewash fabrics, others do not, etc. etc. You made a silk purse, so to speak, Carole… Good job!
Carole, it still looks great! I found your tutorial on borders wonderful reading. It explained the result of too much fabric and that really helped me “see” it in my mind, as well as possible solutions. I will refer back to that with my next quilt project, guaranteed, even if it won’t be going to a long arm quilter!
Have you said anything to Joan about the borders?
No, I haven’t. I don’t know how to tell her without sounding like I am complaining. I am just hoping that some readers will see the tutorial on borders and pass it along to other newer quilters who might not know why measuring is so important. I know I did piecing for several years before I found this out. Perhaps they just don’t know.
I agree with everyone else, A job well done with what was given to you. We need to keep in mind this may have been made by a novice sewer and her heart was in the right place. Which I believe you ladies have done with your kind comments of the Top. This was a learning tool for me. Thank you.
Hello Carole! I think the quilt looks marvelous with your brilliant solutions to quilting! I always come to your tutorial on applying borders when it is that time even though I do all of the quilting on my home machine. Right now, I am working on 5 projects.
2 twin sized Scrap Dance Tango quilts, 2 Two Step Mystery Quilt sized full, plus another King sized quilt for a wonderful friend in my life; she is actually more like a second Mother to me, she is considered part of the family by everyone! So mainly just nothing but half square triangles, more half square triangles…I even think I was dreaming about them last night! Honestly, I am having fun doing all of them and then they will all be done at the same steps and then finished in their own quilt pattern when it is time. I hope that this works out and helps the way I am hoping it will! Thank you for sharing Carole and have a great day!
It’s a beautiful panel and you did your best… ♥ You can’t do more than that. Have a great week . i’m still planting things and sprucing up a bit with paint outside. In the evening I’m crocheting a summer weight cotton sweater and in the early a.m. working on art projects. It the busy , busy time of year for me 🙂
Lots of work to get it straight and no gathers or puckers. You did a wonderful job, and this will be such a treasure.
I have your post on quilt borders saved and I review it whenever I’m adding borders to a quilt…even if I never send it out to a L/A I still don’t want to experience the same frustration when doing the quilting myself. Thanks for sharing!!
Hi, Carole,
You have the patience of a saint! One of the very first things I learned in my first quilt ventures, nearly 50 years ago, was to measure length and width three places, in the middle and one third out from the middle horizontally and vertically – never along the edges, and surely never following the cutting directions in a pattern, since, despite the most care, my seam allowance could easily have led me to a slightly different completed pieced size.
I love the look of the finished quilt and think your thread color choice was spot on.
I do quilt with my checkbook for large quilts and very much enjoy doing interesting mq on small pieces on my domestic machine, but do struggle a bit with the mid-size ones, like this QOV, as they are a lot more more work, relatively speaking – I would happily be a “topper” for loads more donation quilts (with carefully measures and applied border) if there was a volunteer longarmer in my area. 😄
Just got my Alliatarie quilt, the Bonnie Hunter 2015 mystery quilt, back from my longarmer today and I will post it on Flickr. It is huge and she did a wonderful job. Now, getting the binding on will now be a project.
@susansquiltstudio
Thanks so much for sharing this. I’m a new longarmer and it is very helpful.
You did a wonderful job.
Considering what you had to work with, I think it’s outstanding. I honestly don’t think most people will notice that minor puckering around stitching. They’ll probably think it’s supposed to be that way!