
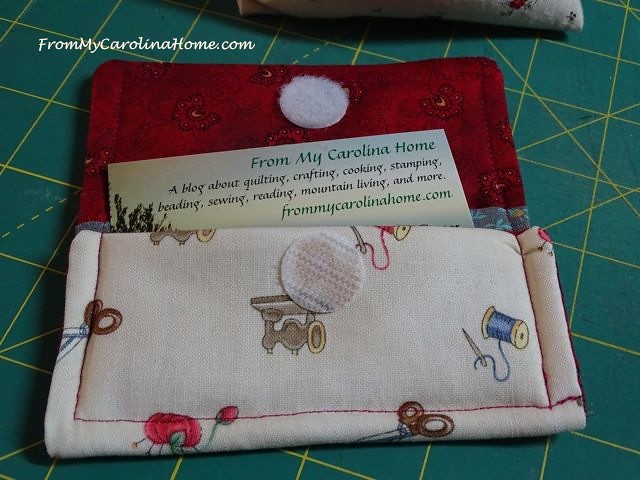
With the NC Quilt Symposium coming to Asheville in 2018, our local longarm group is once again making small items to add to the goodie bags to get our group publicity. For locals, and those who don’t mind mailing quilts to be quilted, we have a number of wonderful longarm quilters ready to make your creations sing with professional quilting services. See our website at Carolina Mountain Longarm Association to find a quilter near you, or one that takes mail in tops. If you are local, or you attended the Sympsium held in Hendersonville in 2015, you might remember our Chickens Project. This year we decided to do small card wallets, or carriers, for credit cards or business cards, or even tea bags. Each one of our members is making at least 30, so it is a stash busting project for me!
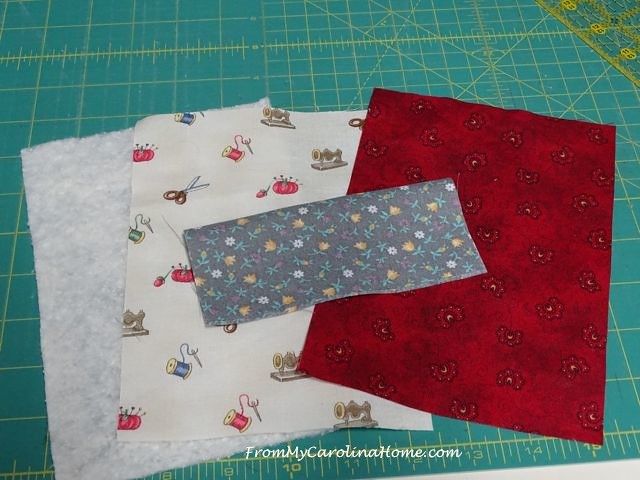
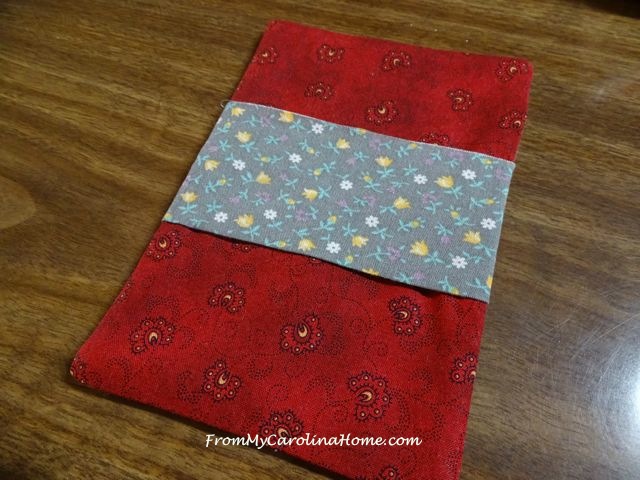
These are really easy to make. Start with cutting two pieces of fabric 7-1/2 x 5-1/4 inches. Cut another piece from another fabric 4-3/4 x 5-1/4 inches. Cut a piece of batting 7-1/2 x 5-1/4 inches.
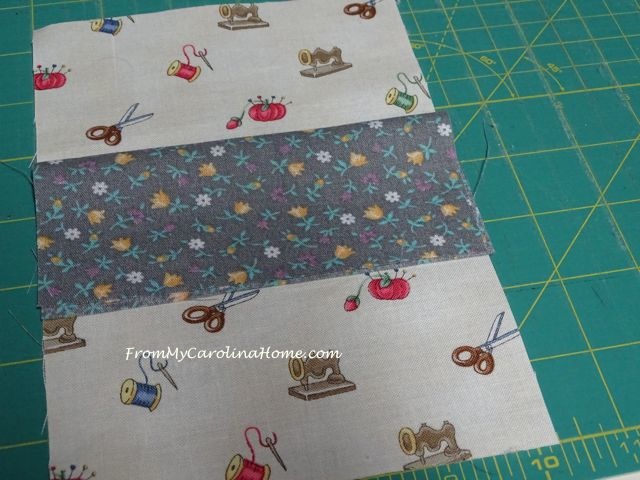
Stack the batting with one large piece of fabric right side up on top. Fold the small piece in half, wrong sides together, and place this piece 2-1/2 inches from the bottom, with the fold towards the top. I find using my cutting board makes finding that placement easy.
Place the other large piece of fabric, right side down on top of the stack.
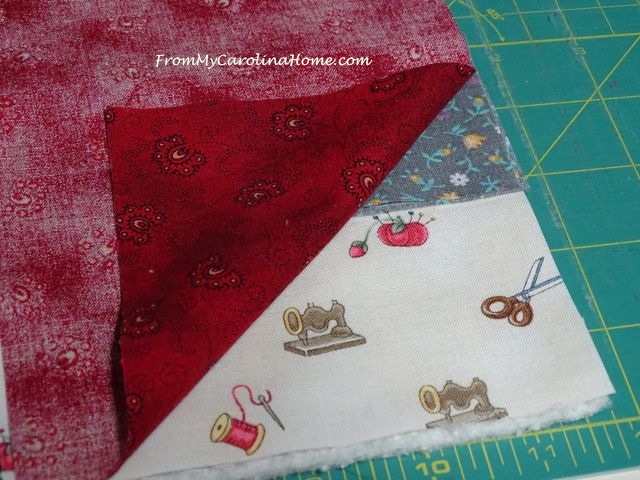
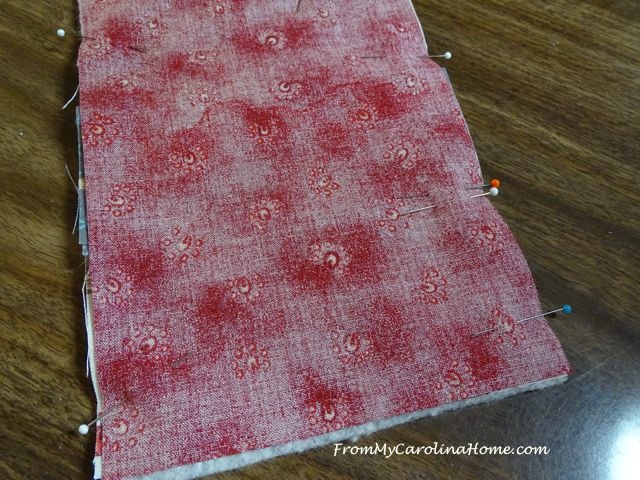
Place a few pins around to hold the pieces in position.
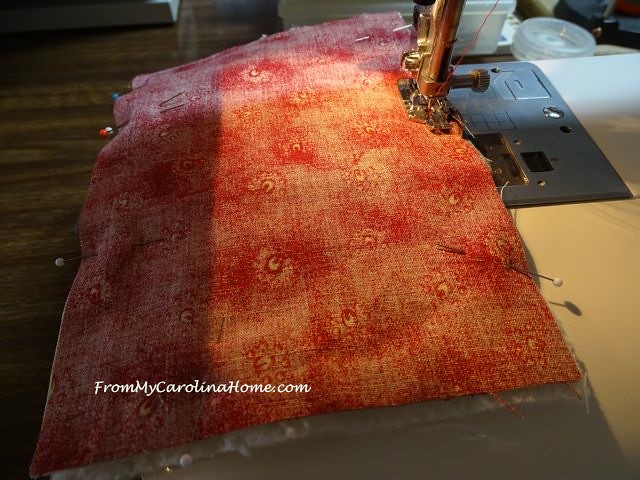
Sew around the edge, leaving an opening for turning, just be sure that the opening is not along the edge where the small piece is sewn, or along the bottom as that won’t get any additional stitching.
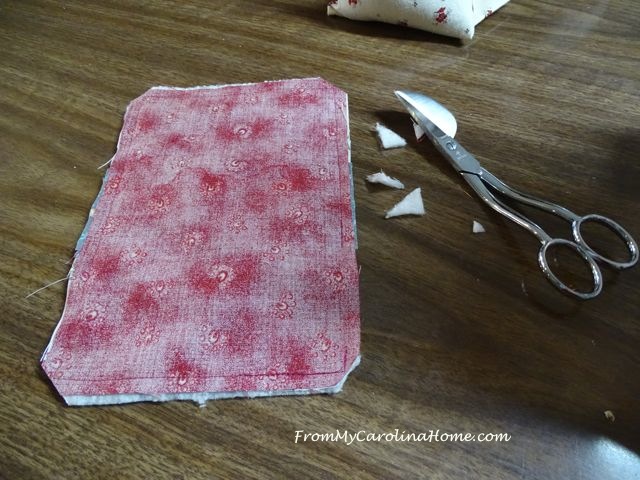
Clip the corners to reduce bulk and make the points nice.
Turn right side out, and press.
At this point, you can change your mind as to which fabric goes on the outside, and which one goes on the inside. Just turn the inside panel to the other side.
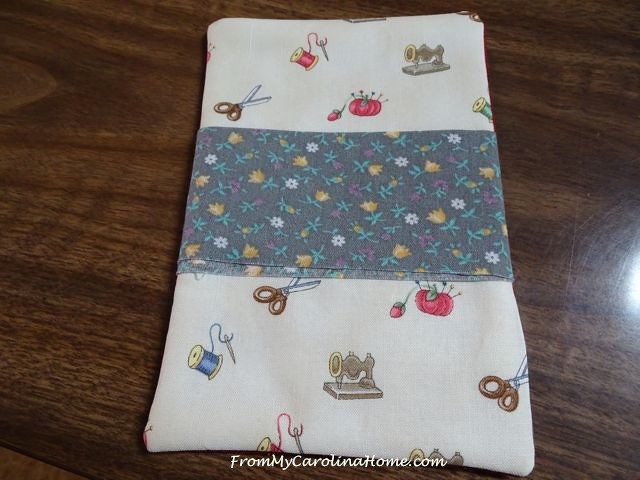
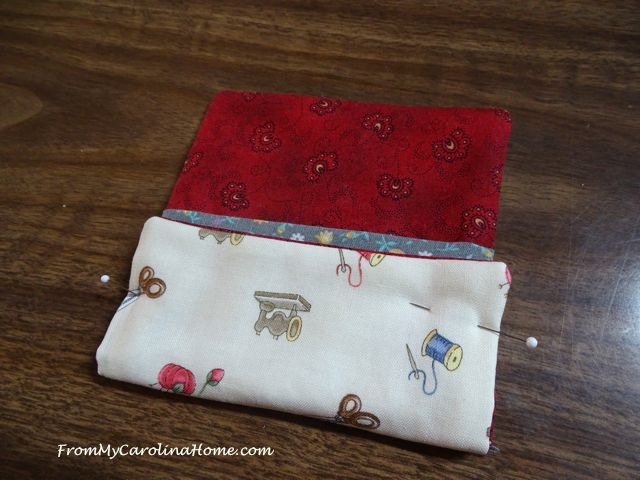
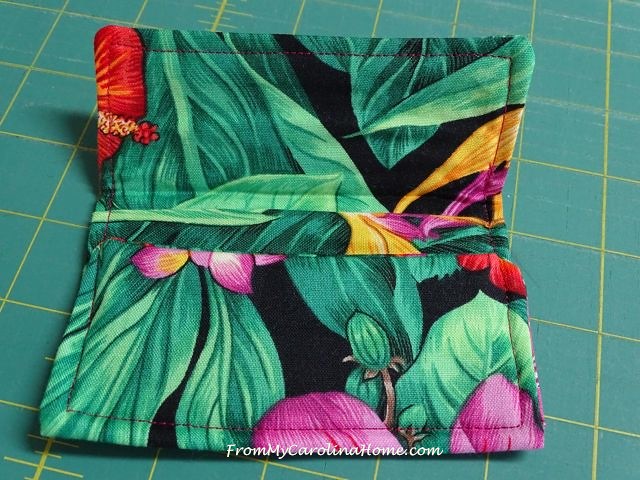
Now, turn the bottom up, leaving a bit of the inside divider piece showing. Be sure you have the folded edge showing, and the raw edge at the bottom inside the fold.
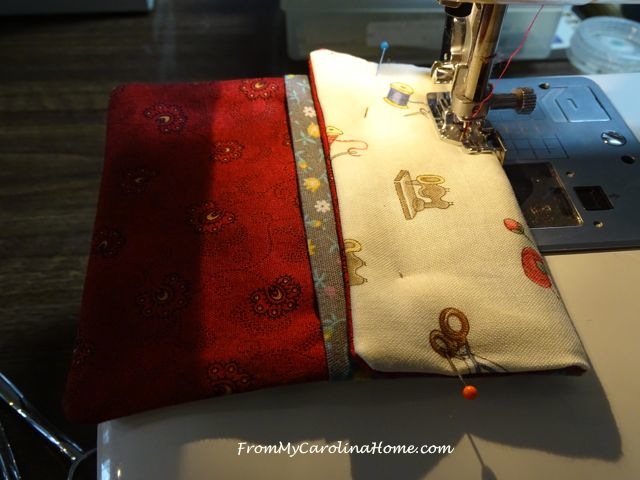
Top stitch all the way around, enclosing the raw edge inside, and the opening for turning.
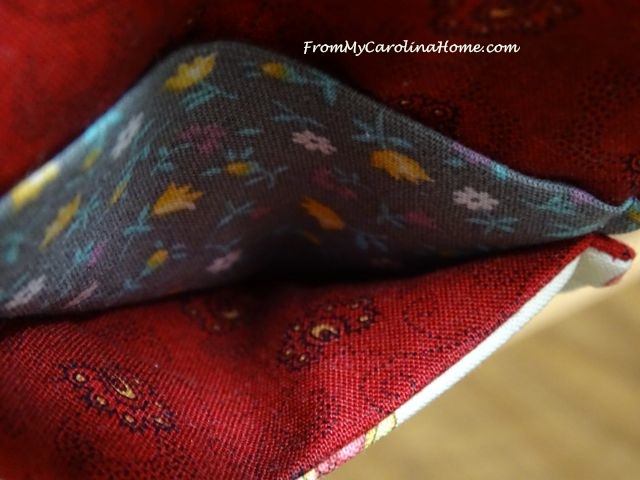
When you are done, the raw edge will not be visible inside, and the divider will be fully sewn in.
Now add some sort of closure. I used round velcro dots with velcro glue. You can sew in snaps by hand, or any other kind of closure you like. If you wanted to sew in the closure, do that before folding and topstitching.

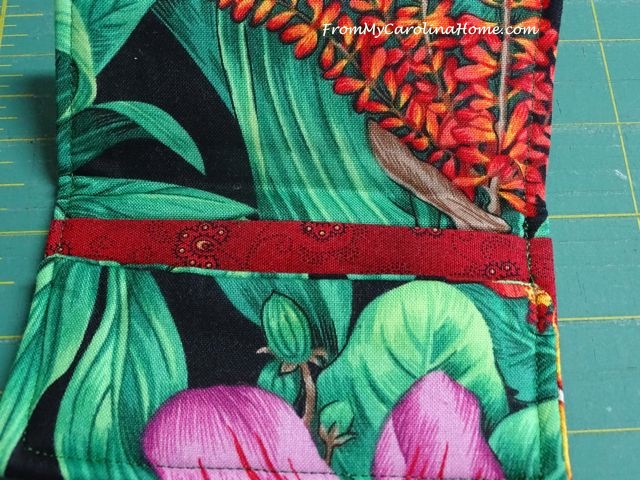
You can use the exact same fabric for all the pieces if you like. It does make the divider a bit harder to see.
There is more definition with a contrast fabric.
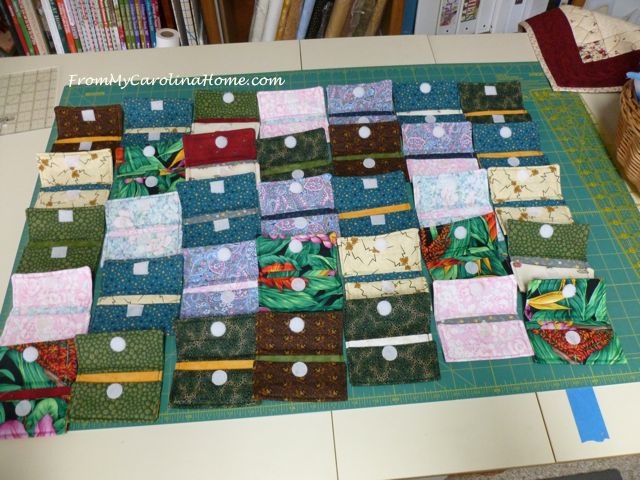
I have a good start on the 30 I need to make for the group’s total.

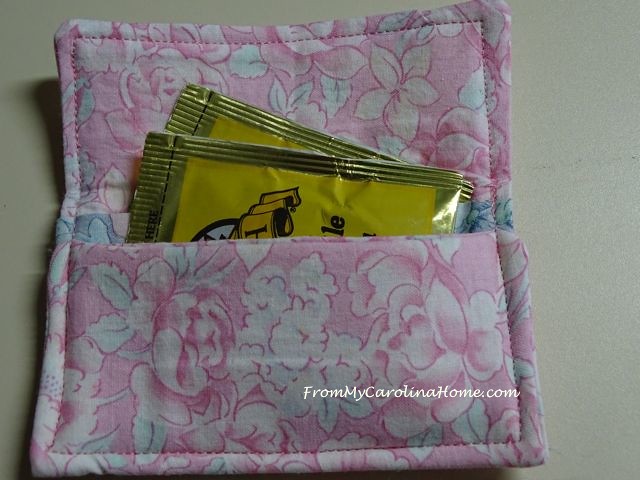
I know some people like to carry tea bags in these too. Tea bags do fit, but if I was making it for this purpose, I might add 1/2 inch to the top-to-bottom measurement to make the pocket just a bit deeper.
One more afternoon and I had more than my required share all done. These are so easy and fast, use up a lot of batting scraps, and I think I’ll make a few more. I ran out of round velcro dots, so just used regular velcro strips cut into 3/4-inch squares.
So, if you are local, and attend the Symposium next year, you’ll get one of these with your registration. They will have the longarm group’s card inside to remind you to look at our website for quilting services. I have made a wide variety of them in different kinds of prints. I made a few extra ones too, just in case someone gets a print they really don’t like. We’ll have a few extra ones available so people can trade for a print they like better.
Don’t you love a quick project with no hand sewing?!!
Sharing
Linky Tuesday at Freemotion by the River

These are cool. I’ll have to add them to my possible projects list.
Pat
Super cute card holders (or tea holders) and how very thoughtful of your group to rally to make these for your giveaway bags. Certainly another reason for quilters to go to this show. BTW – I had no idea that there was velcro glue. Thanks for sharing as I’ve often not wanted to stitch the adhesive velcro snap to fabric and other times I didn’t feel the adhesive held up and I had to replace the velcro enclosure. I’ll have to track down a tube and give it a go.
QuiltShopGal
Yes, I do! And these are neat little tuck-ins anyone can use. I’ve never heard of Velcro glue, so thank you for that tip. I shall look for it as I usually have to sew in my Velcro closures and I dislike it. Will it work on the sticky back-type also? Can’t normally use the sticky back ones on fabric, I don’t think.
I have one similar to this that I received as a gift. I use it to store my punch cards for quilt shops and keep it in the console of my car so it is always handy! Thank you for sharing how to make these.
These are adorable…I especially like “Shirley’s” idea about storing punch cards in them….I’m always forgetting mine when at my lqs. My little go-to, no hand-sewing project I like to make is tissue pak holders….there’s a great tute on QuiltingBoard. I’ve made hundreds of them….
Velcro glue, that is wonderful, and I will save this pattern, and have them on hand for gifts. Love your assorted collection.
Wow these are wonderful. You always have such a nice variety going on here and I am off to see your turkeys in the previous post after this 🙂
These are sooo awesome. If you were selling what you set the price at? these might be good for a fundraiser.
Sometimes I need easy sewing for a little relaxation. A great way to use up fabric scraps.
Hi Carole, I’ve featured your great card holders today.
A very handy and adaptable project which I must try. The little pocket would be perfect for holding my scissors, needles and inch tape and keeping them handy within a larger project bag..
Super cute! I would love to make these for myself and my coworkers. I go through soooo many cards!
What a good idea! They look wonderful… what a big variety you made. 🙂
Those are so cute! I need to make one to carry my business cards in! Thanks for the tutorial. I’m coming over from the Vintage Charm Party!
How cute are these?! Thanks for sharing your talent at Vintage Charm!