
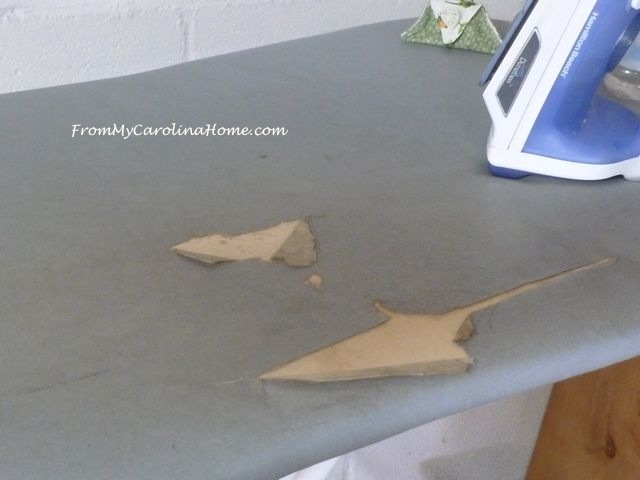
Ironing board covers do wear out regularly, and need replacing. If you have a standard board that most people have, just buying a new cover is easy. But, my board is a specialty shape that is no longer made. It is larger than the standard board, with an elongated end for ironing in the round, like sleeves or yokes. This is the second time I have had to re-cover it. The last time was about 10 years ago. A dear quilter friend of mine has a large rectangle made of wood that is covered in this manner and fits over the standard board with some pieces underneath to keep it from sliding. Both boards are covered in the same way and it is easy to do. If you want a larger ironing surface, now is the time to make it bigger and more useful. You can add a wood piece to your board, just nail it in place, or use screws if you have one of the older metal mesh boards. After years of ironing quilt blocks and pieced elements, mostly in the same spot, the fabric on my board finally got brittle and began to scorch. Then it began tearing. Naturally, every time I tried to iron in that spot, the iron would catch on the edge and make the tear worse.
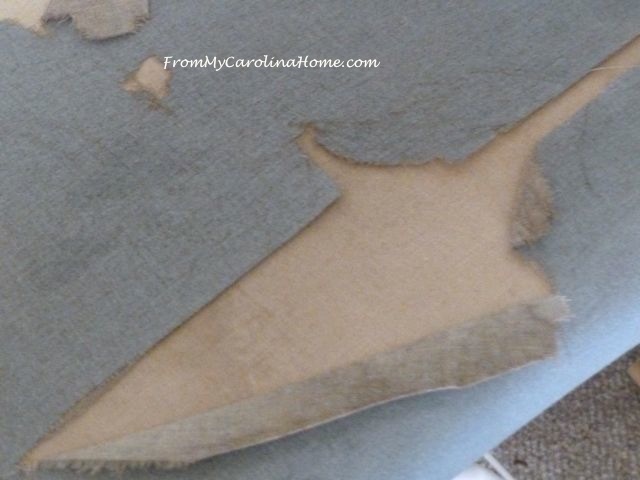
Underneath, the muslin liner was scorching too. It was also very brittle and threatened to come apart any minute.
I purchased the silver ironing fabric at the fabric store in a long enough length to cover the board in one piece with plenty left over. For my board, this was two yards. For yours, buy the length of your board plus about 12 inches. The fabric is 42 inches wide, so that was more than enough. You’ll also need muslin for a liner, two or three layers of cotton batting, and a staple gun, provided your board is particle board or wood. This method will not work on a metal board.

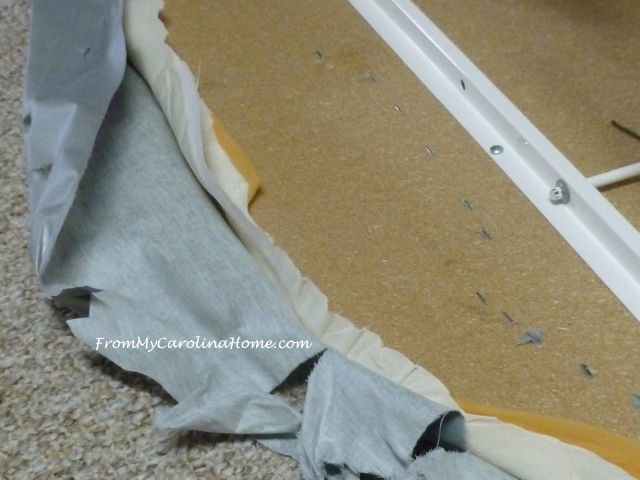
I started by flipping the board upside down on the floor, and pulling off the old cover.
Pulling off the old silver layer, you can see how the muslin liner is deteriorating. Remove the old muslin liner and old batting.

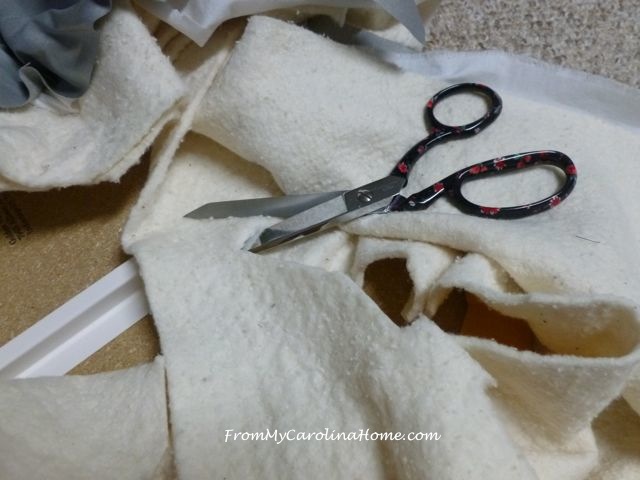
Remove any old staples or other fasteners that would get in the way of the new cover.

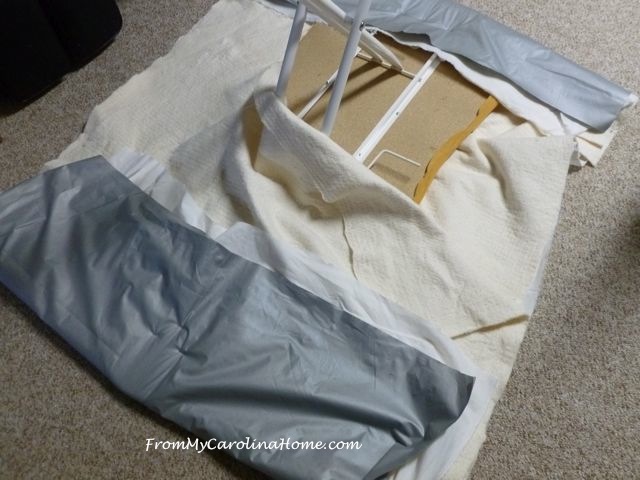
I layered the new cover elements on the floor wrong side up, with the board in the middle, starting with the silver cloth, silver side down. I used the silver ironing cloth, a layer of muslin to hold the batting, and two layers of cotton batting. I did reuse the thin foam layer as it was still in good shape. What you use can be tailored to your needs, one more layer of batting if you don’t have foam, or just two layers of batting alone. I like a bit of padding when I am ironing, but not so much that it is difficult to get a good crease when I need one. As an alternative, you can use Insul-Bright batting instead of regular and leave the muslin out.

Fold the larger end (if you have a difference in the size of the ends, if not just start with one end) over the board and place a few staples in to hold all the layers in place.

Now fold the opposite end over to the backside, and pull it tight. Staple in place.
If the layering is too thick, cut away the excess batting under the silver cloth and muslin.
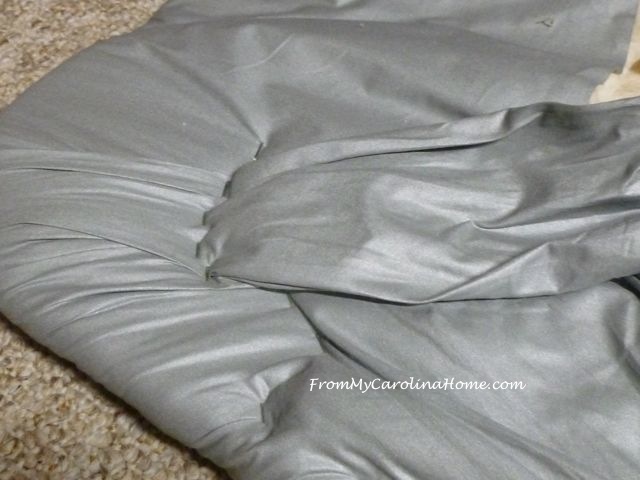
Now do the center of the long sides. Start with one side, then pull opposite side tight and staple.

When both ends and both sides are done, move to the corners or curves. Make pleats in the fabric to take up the extra, and staple them down, pulling the fabric tight. Distribute the fullness equally around the edge to smooth out the edge.
Keep working around the board until all the corners and curves are done. This is easier to do on a curve that goes outward from the center. It takes a bit more care for a curve that go inward like I have in the middle of this board. Just keep working the fabric, stapling it down as you go.
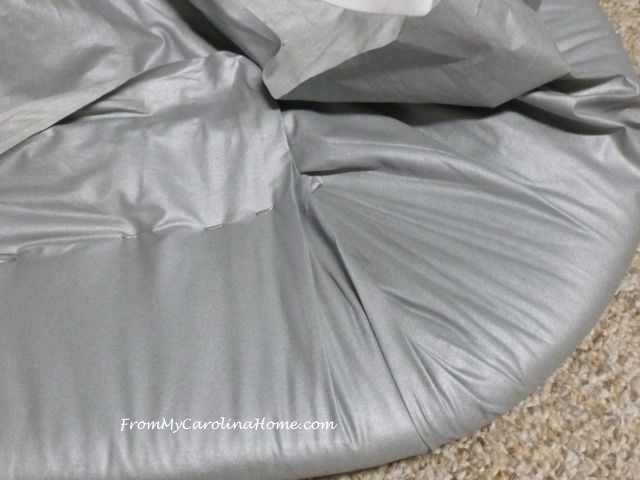
When it is all stapled, cut away the excess fabric near, but not next to, the staples. Leave about an inch of fabric away from the staples to maintain the integrity of the fabric.

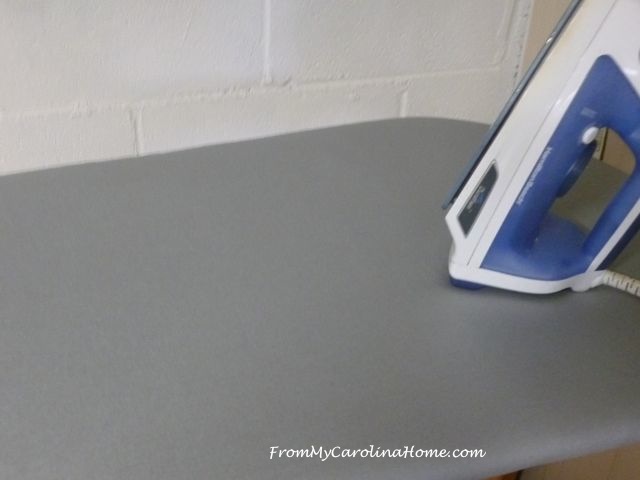
All done, now there is a nice new surface ready for any pressing duty, and will last a long time. Keep the leftover silver fabric, it is perfect for potholders. More quilting and sewing coming up!
My blog is a variety of subjects, quilting and sewing, tablescapes and recipes, book reviews and hand stitching, crafting and mountain living. I love to have new followers, too! See the buttons on the sidebar to follow by your favorite method. If you are visiting from Hometalk, Fave Quilts, All Free Sewing, Pinterest, a link up site, or just found me, please stay a bit and have a look around, my tutorials are gathered at the top in pages to make them easy to find. Lots of fun is had here, and I invite you to follow with any of your favorite methods, see the sidebar for ways to follow. Click on the Home page to see the latest posts on the blog, or on the sidebar links for current quilt alongs and mystery quilts.
Have you ever re-covered your ironing board?
Find my Scrap Dance quilt patterns on My Pattern Page. New readers, I hope you’ll stay a bit and look around my blog, then follow by one of the methods on the sidebar so you don’t miss the next Autumn Jubilee event. Yes, I’ve already begun work on the new patterns and giveaways!
 This week Fat Quarter Shop has 20% Off the Basic of the Month, and 30% Off the Notion of the Month, plus check out the Daily Flash Sale – something new at clearance pricing every day!Thank you for using my affiliate links when you can. See my full disclosure HERE.
Amazon FreeTime Unlimited Free Trialis just $2.99 a month!
Thought about becoming an affiliate for your blog? Click on ShareASale!

I have a “butcher block” island on wheels that I covered for an ironing board, and it was quite the process. I can get a full width of fabric on the board which is really handy. I used a “Bo-Nash” ironing surface which I bought at a quilt show, and it was a tad “short for the wrapping around, so I stitched a skirt on it. (I wrote a blog post 2 years ago – https://stitchinggrandma.wordpress.com/2014/05/27/projects-abound-this-week/ ). I noticed yesterday that I have a “wear spot”. My solution today will be to ROTATE my ironing surface and start to “wear out” the other side. I think 2 years has been good, considering I am using it daily. Yesterday was a marathon 8 hours and much of it was with the iron! My standard ironing board has a cover from OLISO that I won in a contest. It is looking rather dirty, and needs to come into the house for a wash. More often than not, I use it for stacking fabric pieces, or holding the bulk of a quilt on my left side. Curious, how many irons do you have? I have 3 in my sewing room and one in the house ( which NEVER gets used). 🙂
I have a standard ironing board, so I can buy a new cover. However I also a have large table top style and wondered about recovering it. I wasn’t even aware you could purchase the proper material to do so. Thanks for the tutorial now I have an idea how to do it. I will just have to find the ironing board fabric.
When I did it, I ordered it from JoAnn’s online. I don’t know if the stores carry it or not.
I’d be hard pressed to do this kind of project. Joking, of course, but I now know more about ironing board surgery than will be necessary for my lifetime. I’ very impressed with your resourcefulness.
I have a custom ironing board that my husband made for me which is about 2 feet wide by 54 inches long. It is on little bun feet and sits on top of small cabinets that I use for storage. There are also baskets of frequently used sewing items that slide under the board for more storage. Like stitchinggrandma, I used the Bo-Nash cover for my board, but after nearly 5 years, it is starting to develop stress tears as well and I’ve been planning on re-covering it. Is there a particular reason why you decided to tear the old materials off rather than just covering right over the top of the old one?
Actually, yes there is. Leaving the old stuff on makes the board too thick to get a nice crease on patchwork. It is just too soft. I have found that three layers is ideal with the thickness of batting that I use. Plus, the scorch smell is gone.
That makes sense. Thanks.
I haven’t recovered my ironing board, but have been trying to find a nice one to replace my old one. It’s tough finding one now that doesn’t have that iron holder at the end, which is not removable. Makes it tough to stand your board on the floor on its end with that there, not to mention my iron won’t work on those iron holder/rests.
I did make my own ironing ‘board’ by covering a folding wooden tv tray similar to the way you have. I did the rounded corners a bit differently and I used Duck Cloth and then underneath I used batting and also Insul-Bright. It works great to set up next to my chair while at my sewing machine when I need to iron smaller items.
Yes, I have done my own. It was easier with the wooden ironing board, but I did this metal one once. Instead of stapling to the board which I didn’t have, I used small crocodile bungie strips, and then stapled the layers to themselves. It works, amazingly. I liked your tutorial, as there are a couple of things I wouldn’t have thought about. Mama always used an old sheet, and she would just fold and put the new one on top. Over the years, it made a lovely soft ironing surface – but always scorched!
All of my ironing board have separate covers. The board itself is just metal. I have never encountered a board like yours.
I’ve had my ironing board since I’ve been married. It’a metal mesh – didn’t even know there was such a thing as a wooden board, but then again, I’ve never looked. Last time I recovered mine, I noticed the mesh was beginning to rust. It’ll last a while longer, though. I’ve featured your comprehensive tutorial today, Carole.
I made a custom elongated top for my ironing board that I am going to share how to make this month – great minds think alike! Lovely tutorial and thank you for linking up. 🙂
I need to make a new cover for my metal ironing board, and was planning on just taking some of the money I EARN (does that qualify as a pun?) and buy some normal calico fabric from the fabric store….is that a bad idea? I iron once a week for about an hour. It sounds like maybe the special ironing board fabric is for the hard-core. Just wondering. Sandra