
I have several yards of lovely rayon fabric that I wanted to sew into night wear and lounge wear. Rayon is wonderful to wear, and not difficult to sew (with a couple of tricks). Serging is perfect for this fabric. The first tip is to place pattern weights on the portion of the fabric that is outside the pattern, especially if the remainder of the fabric is hanging off the table. This will keep the fabric from distorting while you cut.
Start with any pants pattern that has adequate measure in the waist and hip circumference. Take a tape measure and place the zero point at the waist in your middle back. Pass the tape between your legs and up to the center waist in the front. Note that number. Holding the tape at the correct number in the front with one hand, use the other hand to reach between your legs and pinch the measuring tape at the midpoint between front and back. Note that number – it is the center back crotch measurement. Then subtract that number from the total to get the center front crotch measurement. Now measure the crotch seam on your pattern, and add paper to the pattern if needed to get the right amount on both the front and the back center seams, measuring to the finish point leaving additional at the top waist for turning. Taper the end into the leg seam.

So, for example (and these are not my numbers, LOL!!), say your total crotch seam is 56 inches, and the midpoint is 32 inches. Your back center crotch measure would be 32 inches, and the front would be 24 inches. Make sense? OK, make the adjustments and cut out your pants pieces.
Now, match the center leg seam on each front to the center leg on the back pieces and serge them together. You can sew them as well, use a walking foot to reduce drag on the fabric. Use a 70/10 needle with a thin thread like Aurifil 50/2. Try not to pull or push the fabric, just let the feed dogs take it smoothly. Puckers in rayon aren’t as easy to press out like cotton.

Now match the front and back crotch seams, aligning the leg seams. Serge that seam.
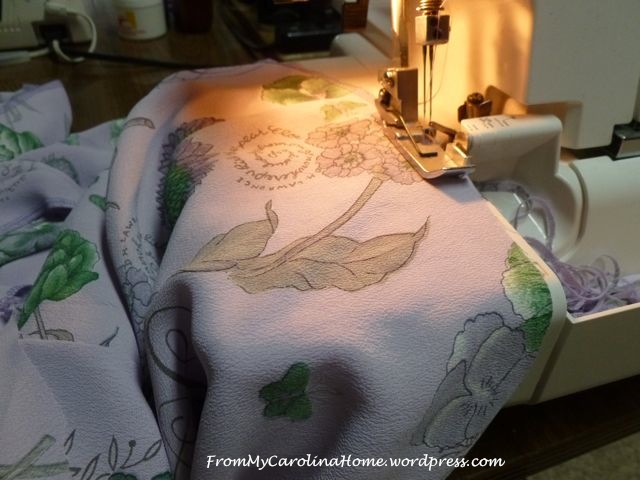
Continue by serging the raw edges of the waist and hems to finish them. This isn’t really necessary as rayon doesn’t ravel, but it makes for a professional looking finish.

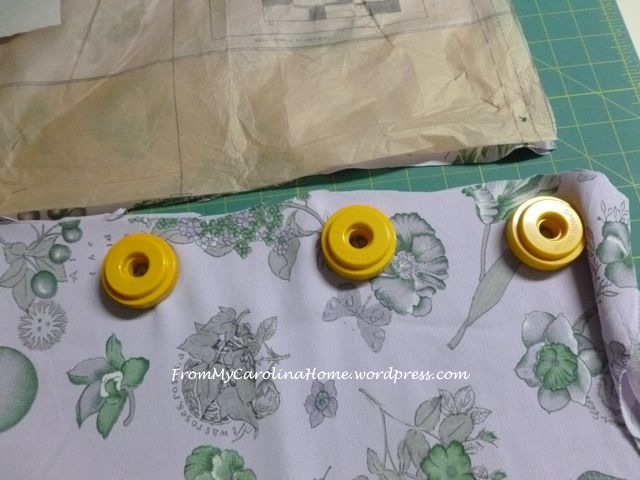
Measure the foldover for the waist elastic. This should be about 1/2 inch larger than the width of your elastic. Sew the channel keeping an opening to insert the elastic.

Insert the elastic using a bodkin.

Overlap the ends of the elastic and join with a zigzag stitch. Or stitch both ends to a scrap, butting the ends up to each other to reduce bulk.

Try the pants on. Now is the time to remove any excess bulk on the legs or waist. Be sure to leave enough to get the pants on when the elastic is inserted. Evenly distribute the fabric around the elastic and stitch through all layers on the four seams to hold the elastic in place so it doesn’t roll. When you iron the seams on the inside, there is sometimes not a clear press on the outside.

Fix this by pressing the seams on the outside of the garment too. This will give the seams a professional look and works on any type of fabric.

Turn up your serged edge hem to the correct length, and topstitch. Another way to finish is to use a twin needle set up on your sewing machine to topstitch the hem, trimming the excess from the wrong side after it is done. Done! Just need to press these again and they are ready to wear.
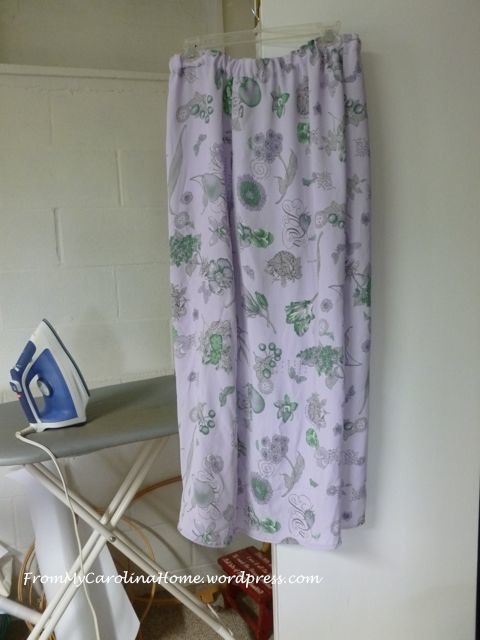
Next time, I’ll show you the top that goes with them. A lovely, comfortable set to wear around the house on a Sunday afternoon, sipping iced tea on the veranda.

Such a gorgeous fabric.Have a fun weekend!