
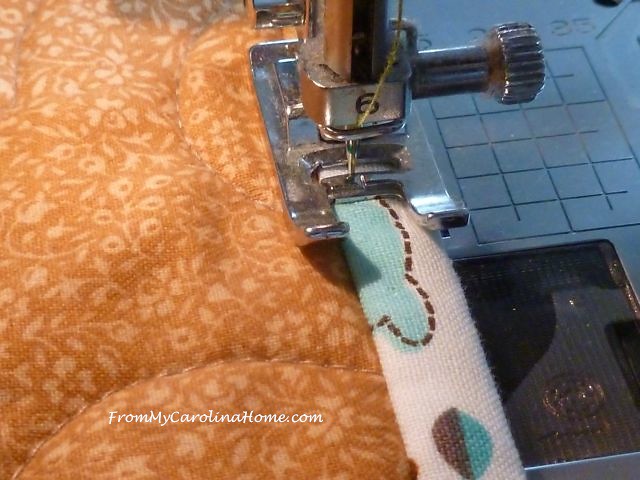
I used several suggestions from you, dear readers, to do this machine binding on the Quick Quilt. This time, I sewed the binding onto the back, then turned it to the front. I did use some pins to make the miters on the corners, and few to hold the binding down as it was being sewn.
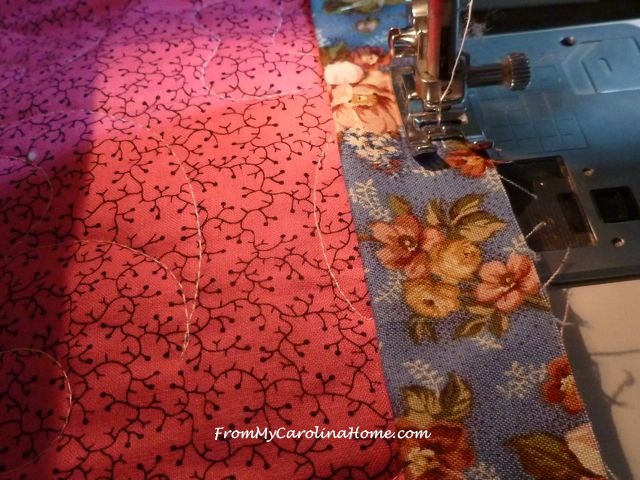
I used a zigzag stitch, and made a couple of adjustments to the stitch length and width.

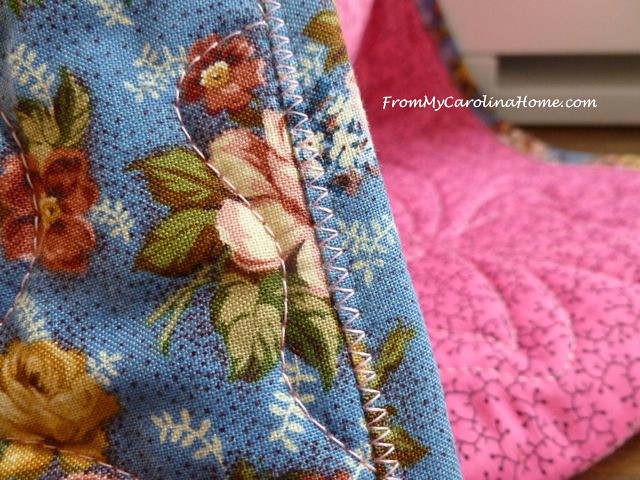
Looks OK on the front.
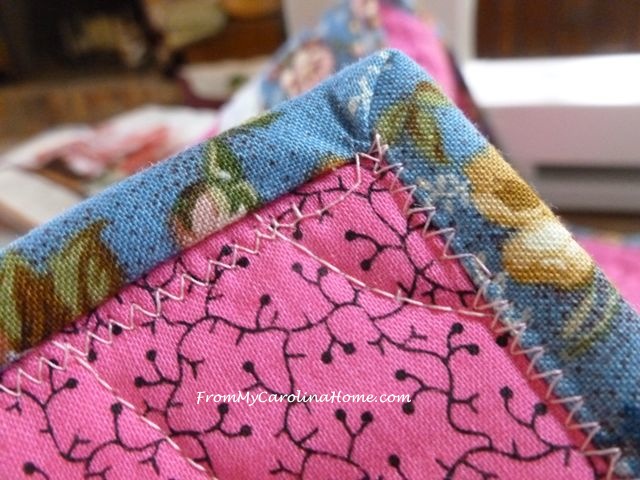
I am still not happy with the way this turned out on the back. Part is on the binding, part isn’t, and what happened to the stitches on the corner? Ugh. Sloppy.
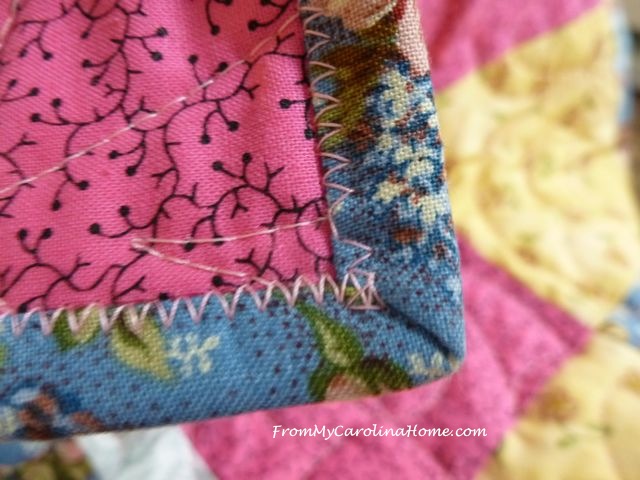
Every corner had a problem. Maybe I am just picky, but I just don’t like this. Still, done is good.
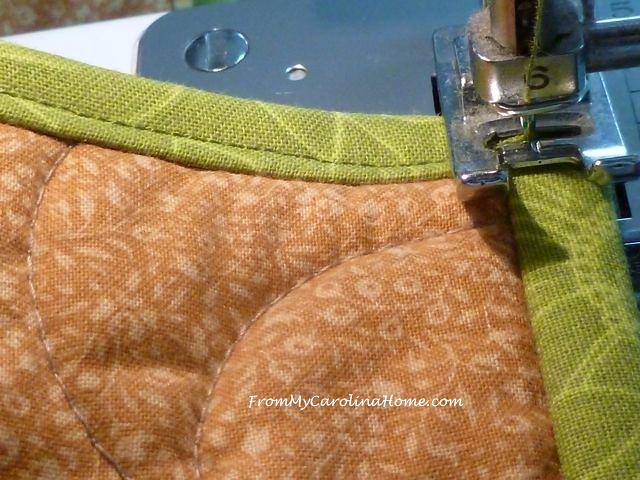
Thinking about the other quilts I had ready to deliver, I thought I’d better go back and do a line of machine stitching on their bindings since I did them my usual way. I don’t want them rejected because of the machine binding rule.
These are the Winnie the Pooh directional print and Non-Directional Print quilts. I simply ran a line of stitching down the binding, using the left side of the foot along the ditch line for consistency. These kid quilts will go to Mainstay in Hendersonville.
You know, this isn’t so bad!
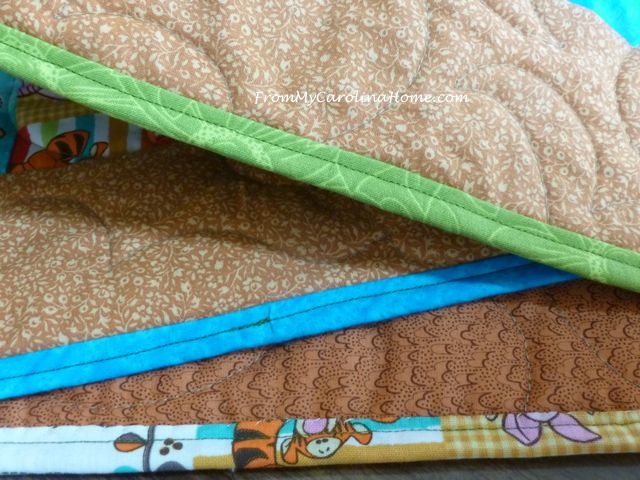
Yes, it is an extra step. But, I get to do the binding the way I like, have handwork for the TV, and the single line of machine stitching doesn’t look out of place or sloppy on either side.
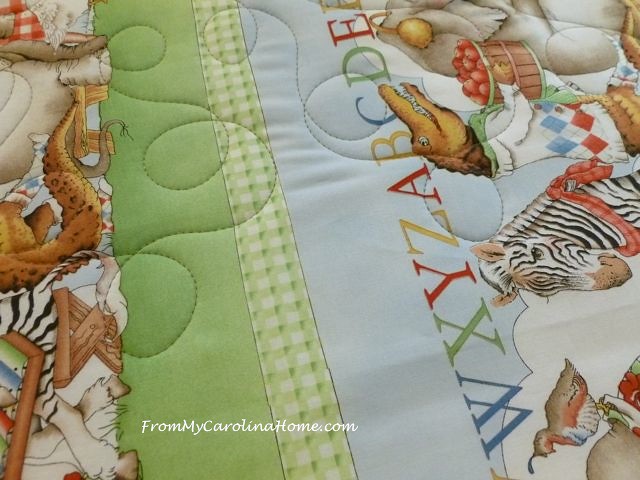
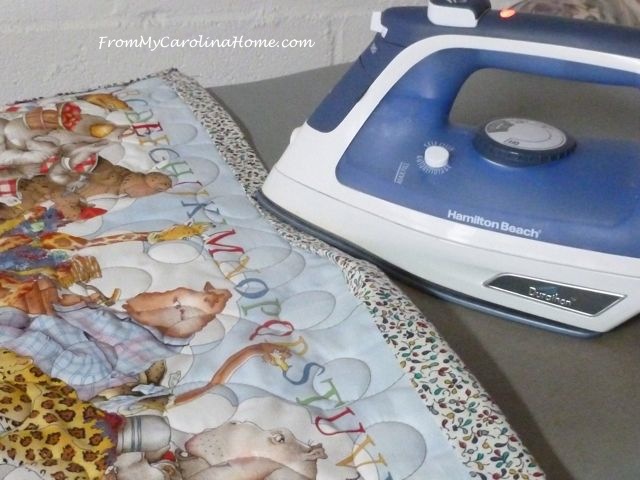
So, I delivered those. Then, at the last meeting last week, I was given a little panel along with batting and backing to do before the next meeting in December. Yes, I volunteered because it would go fast. So I loaded it on the machine and put a simple freehand loop design on it. I leave spots to go between previous lines of quilting so it won’t look like rows of loops.
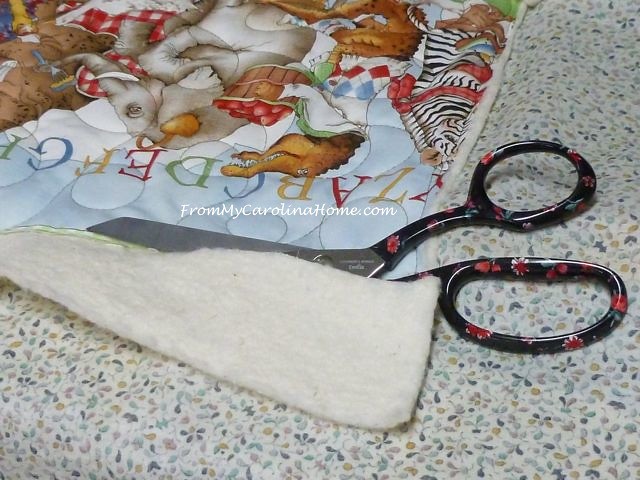
I was careful to only quilt on the top panel, so I could cut away the binding with scissors leaving the backing intact. This is the same method I used to bind the Fidget Quilts for Alzheimer’s Patients.
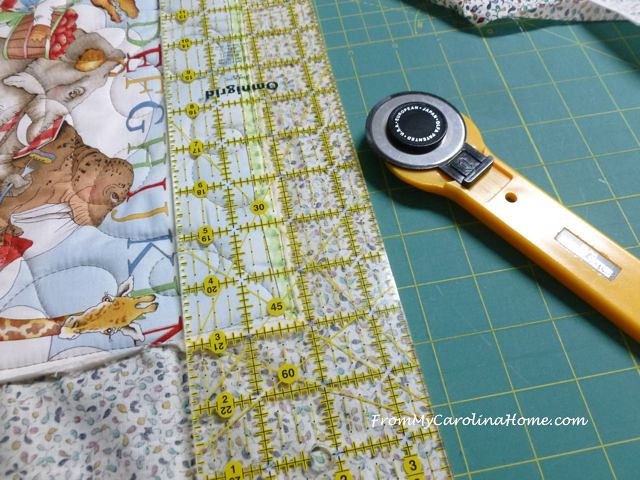
Then I trimmed the backing to 1-1/2 inches all around.
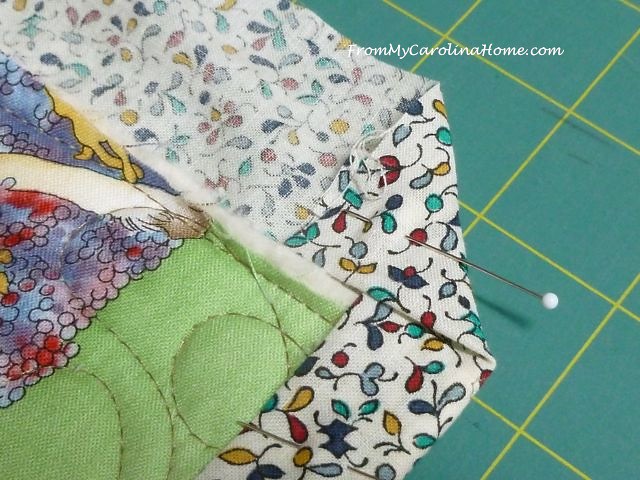
I folded one side twice, first to meet the quilt edge, then over the edge.
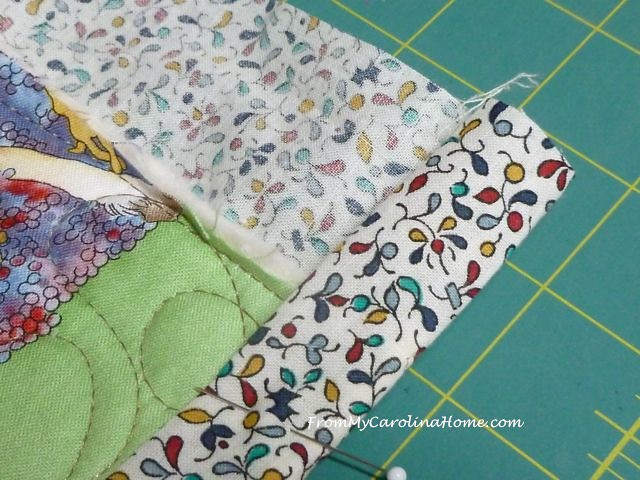
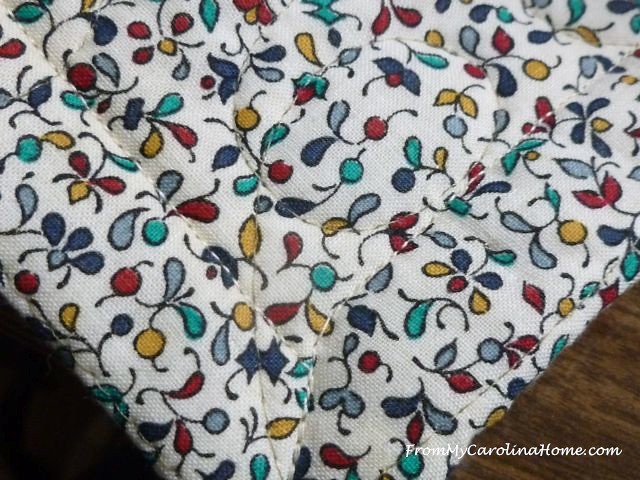
Fold the corner down perpendicular to the side forming an angle on the corner.
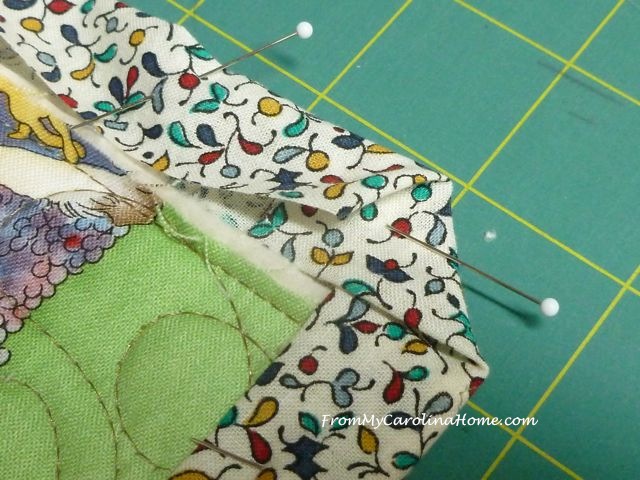
Then fold the adjacent side down to meet the edge of the quilt.
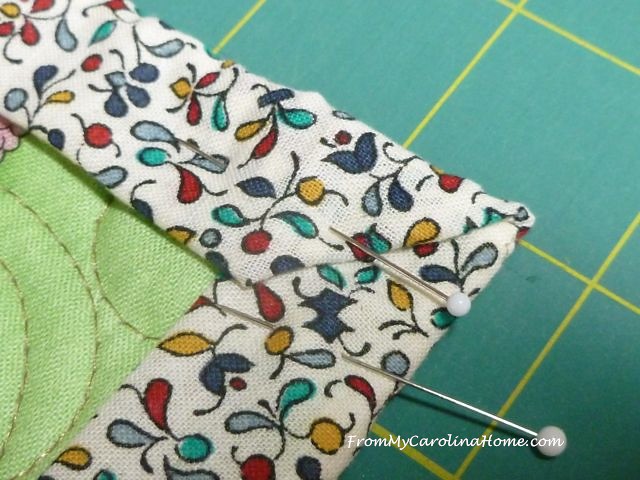
Then fold over one more time to enclose the raw edges and form a nice miter on the corner. Pin.
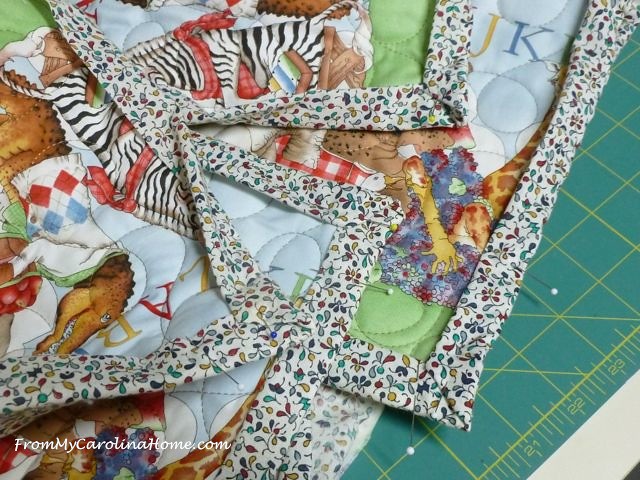
Repeat for all four corners.
Now, just press the side folds so you don’t have to pin them all around.
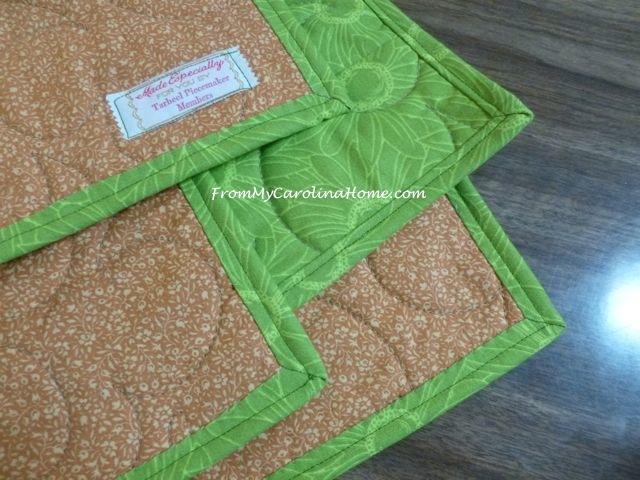
Sew close to the edge on the top.
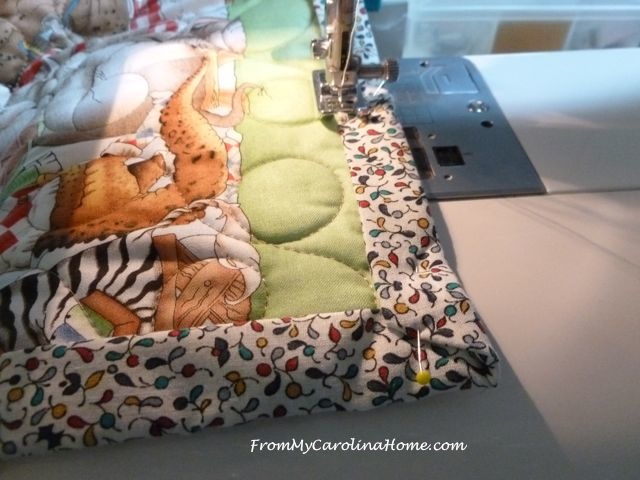
Done in a flash, and there is nothing to line up on the back so it looks good.
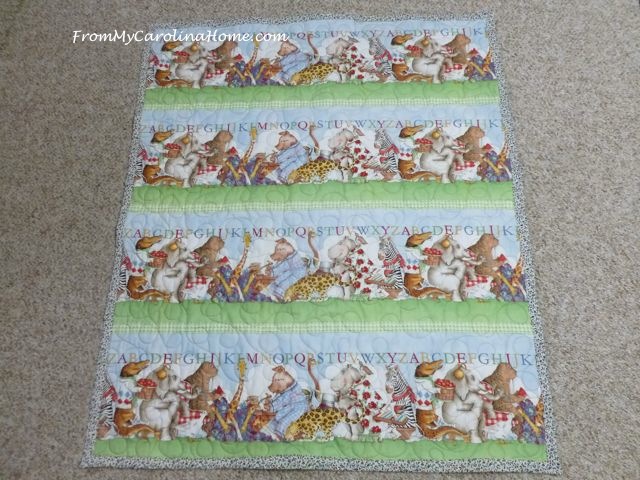
Pros of this method – 1) super fast, 2) neat on the back
Cons – 1) It would be easy to nip the backing fabric unless you are very careful cutting away the batting. 2) It may not be as sturdy with only one layer of fabric on the edge, unless you can get the raw edge tucked behind by not quilting up to the very edge.
I still prefer my method – see the four part series on binding under Quilting Basics. Or start with Making Bias Binding and follow the links to the next step at the end of each post. If the charities didn’t require the binding be machine sewn, I wouldn’t do it this way. But since they do, I have to find a way that is pleasing to me, neat on the back and follows the requirements.
Laura sent me a link to another idea, Piped Binding at Quilt Fabrication. I’d use my own method for joining the binding ends, but this looks like it might work well. Then Sam showed me her flanged binding at quilt club. Amazingly, just two days after I published this post, my friend Karen over at Karen’s Quilts and Crows posted a step by step tutorial on the piped method with really good step pictures – Mitered and Flanged Binding Tutorial.
I am going to try both ideas, flange and piped, but not for a while. I have lots of holiday projects in the works and another charity quilt to load and quilt for a dear friend.
What are you working on?
Sharing with some of the link-ups on my sidebar, and …

 .
. 

I tried machine sewing both sides once and ended up with something like you showed. Once I saw that on one side I quit and went back to the handsewing of the other side. I have brought the backing to the front on one or two quilts too! 🙂 It’s held up …
I hear your concerns regarding the ‘machine binding rule’, which is the main reason I won’t be participating this year. I don’t find it tidy and like you, I have too many other ‘holiday’ must do’s to spend/waste time getting frustrated over a process I don’t like!
I have tried machine binding and found it to untidy and frustrating. I, like you, find hand binding very relaxing. I will go for relaxing over stress any day. Bless you for helping the children.
Not a big fan of machine binding but I dislike doing it bay hand so keep trying. Thanks for this, I’ll definitely be trying the last method out next!
I too am practising different ways of attaching binding so this has been a really interesting post to read – many thanks for sharing.
Well, yes, I have tried this with little projects and it came out good, but it is very very difficult, also a stroke of luck to get it perfect.
I agree that the sewing on the back side looks sloppy, I would not want to accept that, unless I was making a quilt for the animal shelter, hahaha
I have learned that it is just best to do the binding so that I am happy with the result.
I do enjoy doing that fold over binding from the back;. fun for little things.
Quite honestly, I have NOT finished any large quilts. I am a topper, and hope one day to get them finished. Start with the littler ones.
I am going to take a class in the new year on working with the long arm in Fairfax. Then I can rent it.
And/or use their Sweet 16. Then my quilting problem will be solved and I can obsess over binding 😀
No hurry with the fidget quilts, Carole. It is the crazy holiday season. Wait until January. Let’s just enjoy this 2015 Thanksgiving and the lead up to Christmas.
Oh, and it is grey and sad out side here…. are you sending more rain? hahaha just kidding
I think I will try your last idea, binding using the backing. I am not happy with my results either, when I machine bind. Thanks.
Carole, sorry that the zig zag method did not go well for you. But, that is one of the great things about sharing….we all find our own method and have learned and tried a few alternatives. I believe that I am going to try the fold over method that you shared today on my Scrap Dance quilt. My oh My how life has been busy around here. I should have this completed but maybe by the end of today! I had chosen a fabric for the backing, but it would have required a lot of extra piecing of other materials. But I went ahead and ironed it and was just about to start cutting when a fabric popped into my brain. I went looking and found it right away. Which is strange for me. LOL. It is a silk type of material, grey with white polka dots. Hubby and I were not real keen on the polka dots, but the fabric itself is really pretty and simple. We also discovered that the reverse side of the fabric is black with the white polka dots. We both really liked it, so after cutting 4 pieces of black fabric and piecing two together they will be sewn onto the sides and create a totally perfect backing fabric. So today I will be pinning it all to my quilt wall and start the other half of the quilting. We are both getting so excited to have this actually on our bed, especially since the temperature is cool and crisp. But, it will also be a tad bit larger all the way around, so I could easily do this method you have shared. Wonderful! So off I go. Have a wonderful day creating!
Hi Carole, Thanks for sharing this. I like it. Am not working on anything at the moment except in my head as we will be moving/downsizing and am sorting and sharing after being in our home for 30 yrs.
Our local quilt guild lady who is collecting for our annual show boutique, just loves to see me coming. LOL I feel blessed to be sharing with others.
Happy Thanksgiving, dottie
I’m not sure if I already shared this method…. I cut a very wide straight binding, say around 4-1/2″ (or wider) cut, fold over the usual method, sew it down from the front as per usual using whichever seam width you prefer and then when you fold it over to the back, the back of the binding is much wider than the front by quite a bit. Then straight stitch that down along its edge pivoting at the mitres and voila ! a very neat machine stitch on the back of the binding and on the front you get a beautiful extra row of quilting in from the front of the binding. It suits quilts for children and that extra row of quilting does not detract from any other quilting you may have done. I plan this type of binding so that the extra row of quilting from the front sits around the middle or 3/4 mark of the final border. I make my stitches longer too and it looks very neat. Just match your bobbin to the front fabric and the needle to the binding fabric.
I’m not a fan of machine stitching binding, too many imperfections and frustrations, though your method looks as if it works perfectly. I must admit I do like to hand stitch my bindings, even if a little slower.
My “go to” binding by machine is often called Susie’s Magic Binding. Recently I tripped over a very detailed video tutorial that gave some great tips for ensuring it turns out neatly each and every time. Margo Clabo: How to Make a Faux Piped Binding – here is a link:
One more thing: I just did a charity baby quilt and the instructions were to turn the backing to make the binding, and I can NEVER get it right. Your pictures are so detailed, that I might just try it next time.
Pingback: Binding and other projects | stitchinggrandma
Love all your information on binding. I’ve done just a couple with the machine but still go back to the hand stitching. Just looks clean.
Oh your method of self binding is really very clever and I love the way it looks so crisp and clean on both sides. I still do all my binding by hand but I don’t make quite as many quilts !
There was a link today in The Quilt Show news letter about using a felling foot to bind quilts. Here’s a link to the blog A Woman A Day Happy Feet Binding
It seems worth a try.
thanks for linking me to this post-I am going to put this on my pinterest board for quilting so I can get to it again quick-