
Quilt along with me as I show you how to bind a quilt. I use a lot of pictures so this full tutorial is in four parts. If you missed the first two parts, you can see Part 1 Making Bias Binding and Part 2 Sewing Binding to the Quilt by clicking on those links.
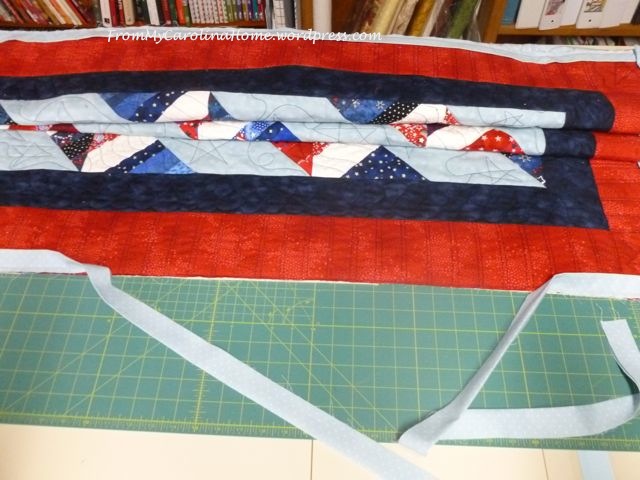
Now that the binding is mostly in place, we need to join the ends so no one can tell which seam is the last one. This takes just a bit of care, and is really fairly easy.
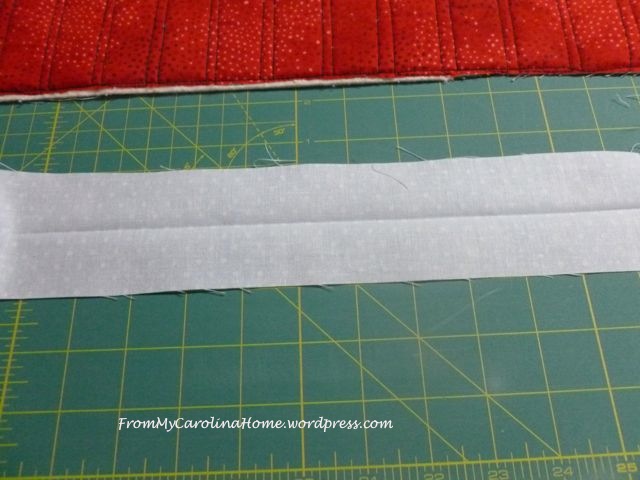
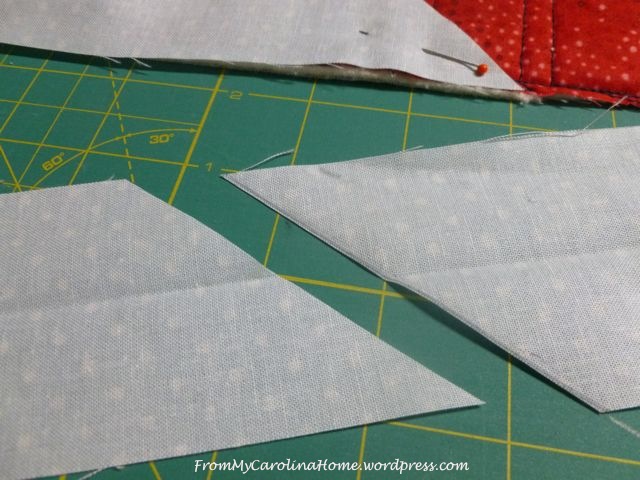
Start with one of the ends, I usually start with the one on the left. Lay it out on a cutting line on your board and make a 45-degree cut. The end should be approximately in the middle of the open space on the quilt. You need that open space to make it easier to get the ends under your presser foot on your machine. I use the lines on my cutting board, but you can also use our square up ruler that has a 45-degree line.


Then place it back on the quilt lining up the bottom edge. I like to pin it down so it doesn’t shift.
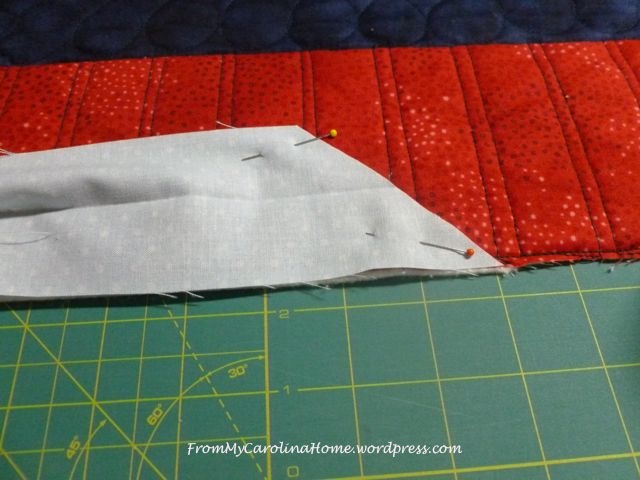
Lay the right side of the loose binding on the quilt lining up the edges.

Mark the 45-degree line on the binding where the left side ends.

Mark a second line 1/2 inch to the left of the first line.
In the picture, you can see the hash marks for the edge of the left side piece, and the line drawn 1/2 inch away for the seam allowance.
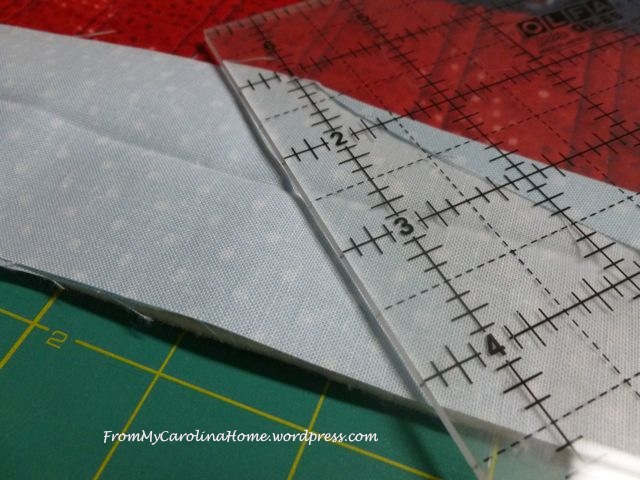
 Cut the fabric on the left line.
If you find it easier, you can draw two lines, using the edge of the left hand piece as a guide for the first line by laying it on top. Then measure and draw your second line 1/2-inch to the left of the first line.
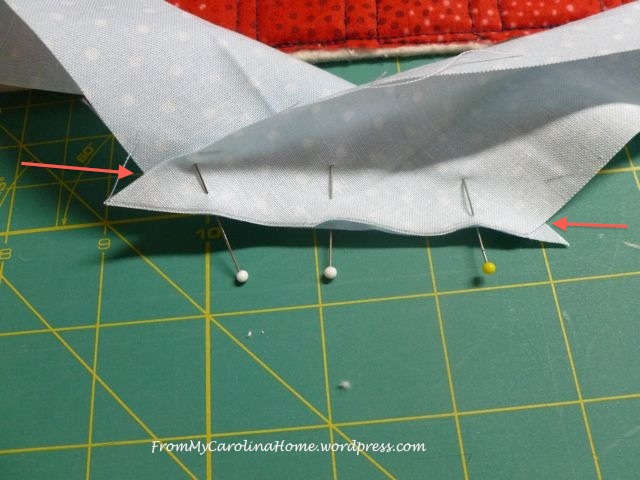
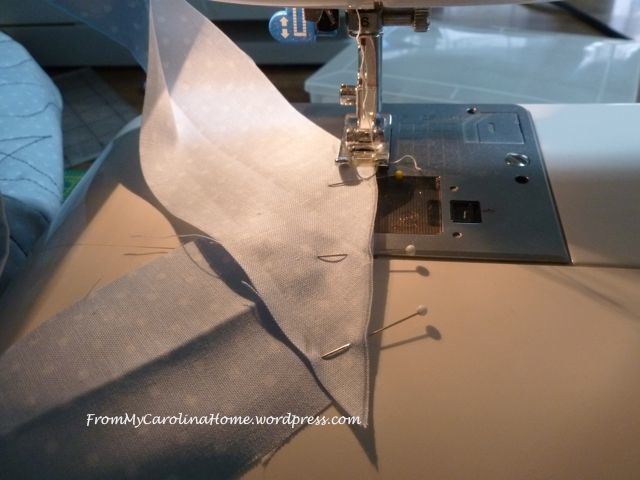
Line up the ends, right sides together, and offset them so a 1/4-inch seam will start and end at the points shown in the photo.
Pin and sew.

Press the seam open, then press the strip in half like the rest of the binding.


Cut off the fabric tips.

The binding should be exactly the right size.
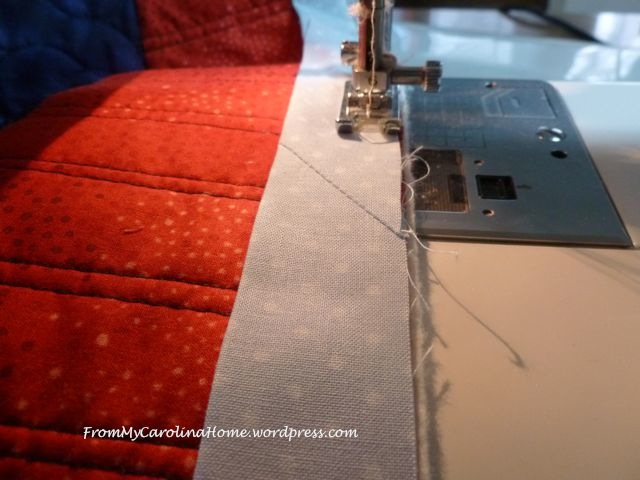
Sew the remaining binding to the quilt.


In Part 4, I’ll show you how to turn the binding to the backside, with a little tip on getting perfect mitered corners on both sides.
Part 4 Stitching The Edge to the Back
Happy Quilting!

AUGH…..This tutorial EXACTLY what I needed…………THANK YOU!!!
Thank you, Valerie, part 4 is coming soon.
Great tutorial! Thanks for sharing.
Freemotion by the River Linky Party Tuesday
I always struggle to get my binding ends to match up. This makes it so easy! I can’t wait to try this the next time I bind a quilt.
Thank you, paintedthread, let me know how it goes. I am so glad you found the tutorial useful. Come back for part 4 soon.
Thanks Carole!
I really needed this excellent tutorial! Thank you! Now I have confidence to complete my bindings the right way.
Snipping off the dog ears or fabric tips really helps to reduce bulk. Thank you so much for linking up to Tips and Tutorials Tuesday!
Thanks for all the photos you included. Now this makes sense–Finally! Sometimes this one step takes longer than sewing the rest of the binding on–something about how my brain works 🙂
I’ve tried lots of different binding instructions but these are far and away the best, most simple and definitely the most accurate. Love the joining method, it works for me and gave a perfect join. As you quite rightly say, you can’t tell where the start and end are with that join. Fantastic. Thank you.